October 31, 2010

.halloween fun.

Ok. Let me start by saying, I am SO disappointed! The man and I did tons of Halloween decorating, (and by tons I mean we decorated two pumpkins) then we bought a metric ton of candy (and by that I mean one bag) and then no trick or treaters came to our house!!! Argh! Little brats!

Anyways, the upside to this is that we have kick ass pumpkins, a boat load of candy and..... roasted pumpkin seeds!

It came to my attention that not everyone has had the Halloween upbringing that I did. Perhaps it has something to do with having an October birthday? Regardless, the Man had never carved a pumpkin before in his life! Never! I was shocked and appalled and hell bent on fixing this at once.

Here are the fruits of our labor.


Now, I know what you're thinking. "Aw, he did a cute little kitty cat for his first ever pumpkin." And you would be wrong. He spent three labor intensive hours carving a negative space piece of gourd art. And I made the shitty cat face.

He told me, "If I'm going to do something, I'm going to do it right." So, there it is. Yoda's head. In all its shining glory. We have already decided next year we will be doing multiple large pumpkins in a Star Wars theme. That is his request.

I also realized my Halloween fortune when a friend asked what to do with those pesky little pumpkin seeds. When I was a kid we would carve pumpkins every year and then roast the seeds to snack on over the next few days. A little kick of salt helps keep that sugar coma at bay.

Roasted Pumpkin Seeds
The seeds of one or two pumpkins
1-2 tsp olive oil
Salt, chili powder, garlic powder for taste

Start by separating the pulp and guts from the seeds. This takes awhile but I found it was easiest to do it in the sink with two large mixing bowls. Wash the seeds and dry them slightly with a paper towel.

Preheat oven to 325 degrees.

Toss the seeds with olive oil then spread them out on a baking sheet in a single layer. Sprinkle them with the salt, garlic salt and chili powder, or whatever spices you would prefer. Bake them for 25 minutes or so, checking and stirring them after 10 minutes.

Cook on!

October 30, 2010

.hey y'all.

So, there hasn't really been much fun happening in my kitchen for the last few days. Lots of egg salad sandwiches, easy pasta, crackers with cheese, and then we ate out for sushi..... yeah. I love to cook but sometimes a few days go by when we're happy eating sandwiches for dinner. This week has been one of those times.

I will add though, that a boca burger (vegan original), cooked with a teaspoon of olive oil in a saute pan, topped with an egg cooked over-medium (you know, not over-easy but not quite over-hard), with a dash of salt is pretty much the most delicious post-workout food ever.

Go on. Go try it. I promise.

Cook on!

October 27, 2010

.daring baker challenge: october.

Who knows what these are?


.
.
.
.
.
.
.
.
.
Doughnuts!!!

This month Lori, at Butter Me Up, decided the Daring Baker challenge should be some form of doughnut. Now I love doughnuts as much as the next person (or, at least, out of people who love doughnuts) but I had never really had the desire to make them myself. After a bit of research I decided I wanted to make baked doughnuts, as I'm a bit terrified of frying things at home. I was pretty happy with my decision. They turned out very light and tasty, and were not very hard at all. I also chose a recipe that didn't call for yeast so it didn't have to rise for hours.

I used a recipe from Nicko's Kitchen, which can be found in the second video here. They really were just as easy as he makes them look. The only issue I had was my dough was way too sticky to work with so I probably wound up adding 1/4 cup extra flour, or more. I used white whole wheat flour, my new favorite, and added a few shakes of ground nutmeg and cinnamon. To cut them out I just used a biscuit cutter and the big end of a piping tip for the middle hole. Cause, really, who wants to go out and buy doughnut cutters?

I was running out of time to complete the challenge so I just did a simple sprinkling of powdered sugar, rather than icing or a glaze. I think it makes a nice, classic look to the doughnuts. And gives them just a little extra sweetness without tons more sugar!

Will I make doughnuts again? No, probably not. Ha. It was fun. And easy. And they did taste good. But overall I'd rather just eat one deliciously fried and iced doughnut from the store. The man loved them though and, since I'm such a good wife, I probably will wind up making these again, with some more adaptations.

Cook on!

October 23, 2010

.eggplant-licious.

That's what dinner was tonight.

I've been eyeing Alton Brown's Eggplant Pasta recipe for quite some time and decided that today was the day. I made a few adaptations based on some things I had that I needed to use up, like some mushrooms, and just plain forgot an ingredient, the cheese. Despite this the dish was super tasty and I paired it with some quick and easy meatballs.


The recipe itself is labeled as "expert" on the Food Network website, but really I thought it was pretty easy, although a little time consuming. I'm going to give you guys my recipe adaptation, as well as the recipe for these meatballs. 

Eggplant Pasta serves 2
1 medium to large eggplant
1 cup cherry tomatoes
2 large button mushrooms
1/4 cup onion
2 tablespoons olive oil
1 tsp chili powder
2 tsp red pepper flakes
1 clove garlic, minced
1/4 cup milk
salt for purging

The first step is to peel and slice the eggplant length wise into thin, flat strips. Lay these out on a rack over a baking sheet and evenly coat them with salt. Let them sit for 30 minutes. While they are purging get the other ingredients ready by cutting the mushrooms, tomatoes, onion and garlic. You should also be starting the meatballs now. When the eggplant slices have a few minutes of purging left heat the olive oil in a large saute pan and add the other vegetables. Thoroughly rinse the eggplant, dry between paper towels, then slice into pasta sized strips. Add this to the saute pan, with the chili powder and red pepper flakes. You shouldn't need salt because there will still be some in the eggplant. After about 10 minutes the eggplant should look fairly cooked and be darker in color, add the milk and let this simmer for another 5 minutes or so. Mix with the meatballs and serve. 

Meatballs makes 8 meatballs
1/2 pound lean ground beef
1 clove garlic, minced
1 tsp pepper
1 tsp garlic salt
1 tsp red pepper flakes
1 tsp chili powder
3 tbsp bread crumbs

Preheat oven to 400 degrees.

Mix all ingredients together with your hands, shape into 1 inch meatballs. Place on a baking sheet and bake for 20 minutes. Enjoy!

Cook on!

October 16, 2010

.oh my.

I wasn't planning on writing about my adventure tonight. This is why I didn't take any "before" pictures. As soon as it came out of the oven though I thought oh yes, that needs to be written about, and then quickly eaten, so I only have 1 incredibly mediocre picture for you. And it's blurry.


That, my friends, is a strawberry crostata. Or, at least, my version of it. Rather than cooking it straight on a baking sheet I cooked it in a small spring form pan because the crust was giving me massive troubles. 
I, again, used inspiration from Christina over at Dessert for Two. I used her strawberry crostata recipe, which can be found on her site here. As I already said, I used a spring form pan, which differed from her recipe. I also used white whole wheat flour (which is amazing!) and half fresh strawberries and half frozen. This was one of the the best recipes I've tried in awhile. Upon our first bites all I managed was "oh my God," and the Man said "So, you're going to do this one again right?" It was that good. I added some fresh whipped cream on top and it was heaven. 

Cook on!

October 14, 2010

.bon anniversaire à moi.

Yup. The big 2-5. I think this is officially considered "mature" but not quite "aged." If I was a bottle of wine I would be in the medium price range. I would also be sweet and fruity, like a nice Riesling... but I suppose most of you know that already.

So, this is not exactly going to be the big birthday bash I would prefer. I still have yet to meet a single person in this new town and the Man gets to work a lovely 17 hour work day, bringing him home at right around 1:00 or 2:00AM. Lovely, right? So, here I am, with the whole entire day completely to myself and instead of letting that get me down I thought to myself, "Sara, cowboy up."

So that's what I did. I went shopping, and found some lovely ramekins that will have a date with this blog in the near future. I also got, not one.


Not two.


But THREE bottles of wine.


I threw in a nice lunch and came home to this on my counter top.


Yes. It is time for birthday booze cupcakes! I have been wanting to try this recipe since... wow... a long time. Years. And I've finally decided now is the time to do it. I have also been religiously checking out the awesome blog Dessert for Two, as you know from the red velvet cupcakes I made awhile back, and I am still completely inspired by her.


Now, technically this recipe made 5 cupcakes but, come on y'all, I tried. I majored in English, not math. I also guarantee the Man and I will finish off all 5 of these cupcakes in less than 24 hours. I promise. As a side note, I meant for the batter to make 6 cupcakes but I guess I'm a little heavy handed with that scooper.

These cupcakes were so divine though. They had a nice, Guinness aftertaste coupled with an incredibly dense chocolate cake and the frosting paired wonderfully. It was so damn good that somehow, without realizing it, there were two empty wrappers on the counter.

Again though, I had way more frosting left over than I should have. I attempted to load one cupcake with more frosting while I was inhaling eating it and I found it to be cloyingly sweet, so I'll just stick with my little tiny amount of frosting. Here is the recipe I used.

Guinness Chocolate Cupcakes serves 6
1/2 cup flour
2 Tablespoons cocoa powder
pinch of salt
1/3 teaspoon baking soda
1/4 cup sugar
2 Tablespoons brown sugar
1 ounce butter, softened
1/2 teaspoon vanilla extract
1 egg yolk
2 Tablespoons sour cream
3 ounces Guinness, or like stout


Preheat oven to 350 degrees F.

In a small bowl mix together the flour, baking soda, salt and cocoa powder. In a mixer bowl mix butter, sugar and brown sugar until whipped together. Add the egg yolk and vanilla extract, whip again. Add the sour cream and turn on the mixer, while it is mixing, slowly add the Guinness. I did this one teaspoon at a time. Add the dry ingredients until everything is entirely mixed. Bake for 20-25 minutes.

Bailey's Cream Cheese Frosting serves way more than 6 cupcakes
2 ounces cream cheese
1/2 ounce butter
1/2 cup confectioner's sugar
1-2 Tablespoons Bailey's

Beat all ingredients together except for the Bailey's. Add this last, in small amounts until it is as boozey as you want it to be! I found it best to make this frosting and put it in the fridge while the cupcakes are cooling.

Also while the cupcakes were cooling, I made this!

That, my friends, is a homemade, from scratch, half sauteed onions, mushrooms and pepperoni, half sauteed onions, mushrooms, sun-dried tomato and goat cheese pizza on a whole wheat crust. Yeah.

I was super excited to try 1) a new crust recipe I had found and 2) the new King Arthur Flour White Whole Wheat Flour I just bought. At first glace I look very successful, eh? Let me give you more glances.


I thought I had been pretty successful too.... until I started to cut the pizza. Turned out I super epic failed and completely burned the bottom of the crust. This was easily fixed by just removing that portion of crust, and really the pizza was still delicious. But, the baking sheet is a goner. Too bad.

Cook on!

October 10, 2010

.put that in your oven and broil it.

Yeah!

So, I decided for this lovely Sunday afternoon meal that I was going to make roasted red bell pepper soup. Completely from scratch. And I have to say, I am not disappointed. This recipe was easy and fun. It is also one of my new favorites. It was so flavorful. It would be great paired with a grilled cheese sandwich, or a veggie panini. We just ate it all on its own and it was more than filling enough.

I used a recipe from food network, minus the cilantro. I halved the recipe, and instead of a set number of large red peppers I just used a bunch of little ones from the farmer market. It turned out beautifully.


Cream of Roasted Red Bell Pepper Soup serves 3
6 small red bell peppers
1 tablespoon butter
1 cup chopped onion
2 cloves minced garlic
1/8 cup tomato paste
3 cups chicken stock
1 cup heavy cream
Salt and pepper to taste
1 cup sweet corn kernels, lightly roasted

You want to start by roasting your bell peppers. There are numerous ways to do this, but I used the broiler on my oven. This was the first time I used the broiler and the first time I roasted peppers, and I have to say it was super satisfying, in a really weird way. Preheat your broiler. Remove the stems from the peppers, halve them, remove the seeds and membrane then place them on a baking sheet with the skin side up. Put them under the broiler until the skin is charred. I think it took mine maybe 12 minutes or so. Take them out of the oven, place them in a ziplock bag and put them in the freezer for 10 minutes. Then take them out of the bag and pinch and peel the skin off. It should come off very easily. And, a word to the wise, I didn't realize this but roasted red bell peppers will burn your hands just like jalapenos do! I learned this the hard way, so you might want to use gloves. Chop the peppers and put them aside.

In a large pot saute the onion and garlic with the butter until the onions are soft. Add the peppers, tomato paste and chicken stock. Bring to a boil, then reduce to a simmer for 10 minutes. Then stir in the heavy cream, salt, pepper, and cornstarch, or other thickening agent. Let simmer for 5 more minutes. I used some cold water and flour and my soup didn't really thicken up much, but was still very delicious.

Take the soup off the burner and let cool for a few minutes. In small batches place soup in a blender, or if you have an immersion blender that would be even better. If you're using a blender, do not fill it more than halfway when working with hot liquids. This would equal big mess and a lot of pain! This is not something I learned the hard way, luckily. I found the best way to blend everything was to use a slotted spoon to get out all of the pepper and onion pieces, then add a bit of the liquid and blend. Then I used a ladle and just did a few batches of the liquid soup, just for good measure. 


Before serving garnish with sour cream and the corn kernels.

Cook on!

October 5, 2010

.let's talk sauce.

I'm a sauce girl. I love sauce. Pizza sauce. Pasta sauce. Sauce for enchiladas. Sauce for chicken, fish, beef. Sweet sauce for desserts. Really, I've never met a sauce I didn't like. With this in mind I decided to attempt a new sauce, a cream sauce. I usually stick with red or verde sauces. I paired this with roasted chicken breast and whole wheat tortellini with sauteed leeks. It was superb. I'm imagining it would be pretty good on fish as well.

I only have pictures of the first half of said sauce making, however, because...well....um.... we kind of ate it too fast for me to take pictures. Yeah. Sorry guys. Here is a most delicious recipe though, for creamy pesto sauce.

Step one of this sauce (the step I took pictures of) was making a basil pesto. Now, yes, you could just go buy pesto. I decided to make my own because I had some basil, and the pesto in the store has sugar added. Why the heck would you need to add sugar to basil pesto? It made no sense to me. I adapted my recipe from the food network recipe. I omitted pine nuts, added a little extra garlic, and only made a half recipe.

Basil Pesto makes 1 cup
2 cups packed fresh basil
2 cloves garlic
2/3 cup olive oil
Salt and pepper to taste
1/2 cup freshly grated Pecorino cheese

Combine basil and garlic in food processor, or be like me and use a blender, pulse until coarsely chopped. Add in the olive oil, blend until smooth. Add the cheese, pulse until combined.

I then put it in this handy dandy little container and used half of it in this sauce.

Creamy Basil Pesto Sauce makes roughly 4 servings
1 cup chicken stock
1/2 cup cream cheese
2 Tablespoons basil pesto
Salt for taste

Combine all ingredients in a small sauce pan. Whisk together and heat until combined. Drop to a simmer for roughly 3-4 minutes. Pour over desired pairing and serve immediately.

Cook on!

October 1, 2010

.pretty much my most favorite soup evah, and, oh yeah, cupcakes.

If I wasn't so rigid about my title format that would actually read "Pretty much my MOST favorite soup EVAH! And, oh yeah, CUPCAKES!!!!!!!!!!!!!!!!"


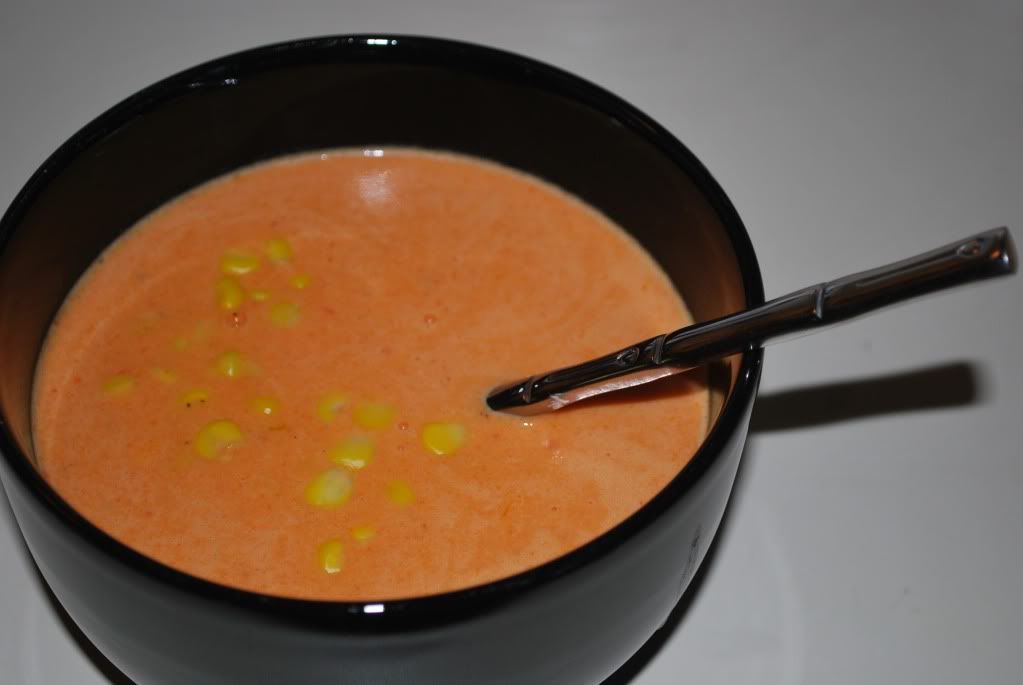
But, the format is how I roll so. Yes, lets talk soup. Or stew. Or stoup, if you're my homegirl RayRay ( that would be Rachel Ray, for those of you who aren't tight with her, like me). Anyways, I'm sure you know what I'm talking about. That delicious little concoction that is "thinner than a stew, but thicker than a soup." You can make it out of any soup or stew that you like, for me, I prefer the Chicken Tortilla Soup. So delicioso. Yeah, I'm getting spicy on y'all.


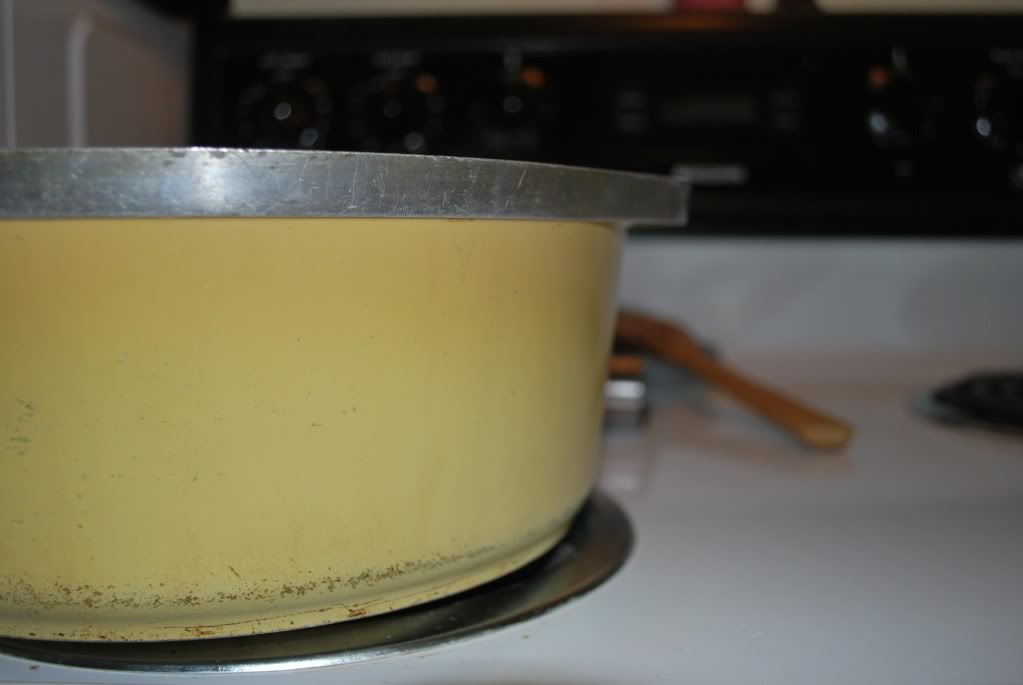
Oh this pot has some stories....
  I discovered this delightful little soup while in college in Austin, TX   
  (and no, not at UT, try again). Which, if you can't find good chicken 
  tortilla soup in Austin, you can't find good chicken tortilla soup 
  anywhere... north of the border. I didn't attempt to replicate this soup
  until I had already moved to Alaska. Why would I? I had a steady
  supply at my fingertips everywhere in the ATX. That supply was
  nowhere to be found up in the Last Frontier, however, so I had to
  make my own. I looked at multiple recipes from all over and finally
  just made a hodge podge of my own tastes that made the soup quite a bit thicker than I had ever found it. This included doing away with the tortilla section of chicken tortilla soup, unfortunately, because I could never find cute little tortilla strips in the Safeways up there. Bummer dudes. I'll let you in on a secret though.... don't tell....

...the soup is just as good without the tortilla strips...

Really, it is. I promise. But, if you are in a place where you can easily find tortilla strips, or if you want to make your own, by all means, they should definitely be in there. Most recipes also called for cilantro, which I am not a fan of, so I also leave that out. Without further adieu, here is my chicken tortilla "stoup" recipe.

Chicken Tortilla Stoup serves 6-8
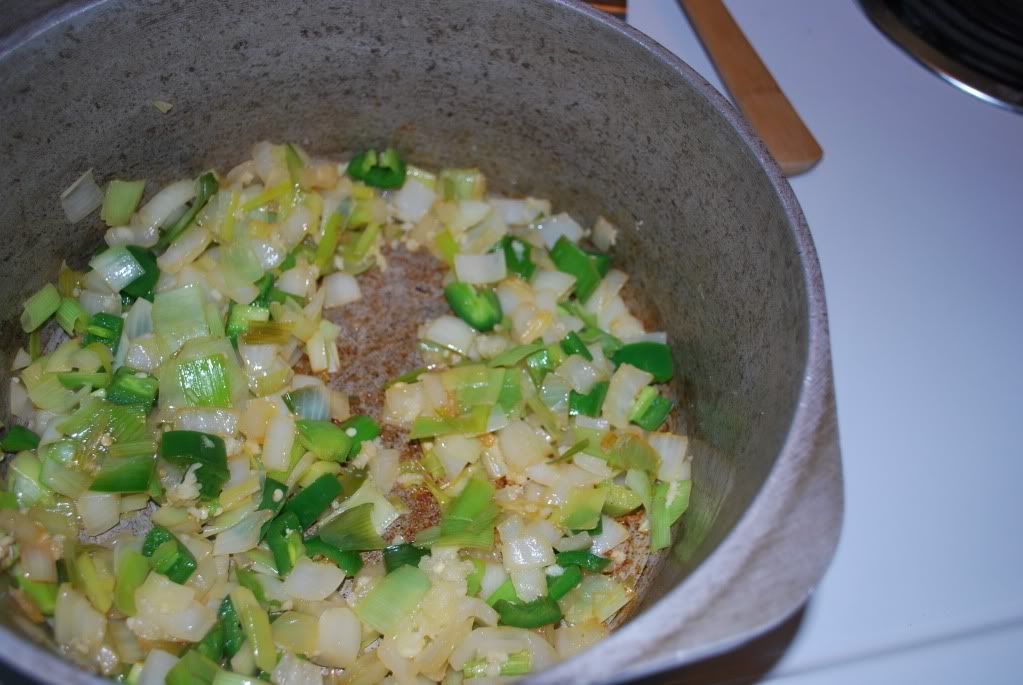
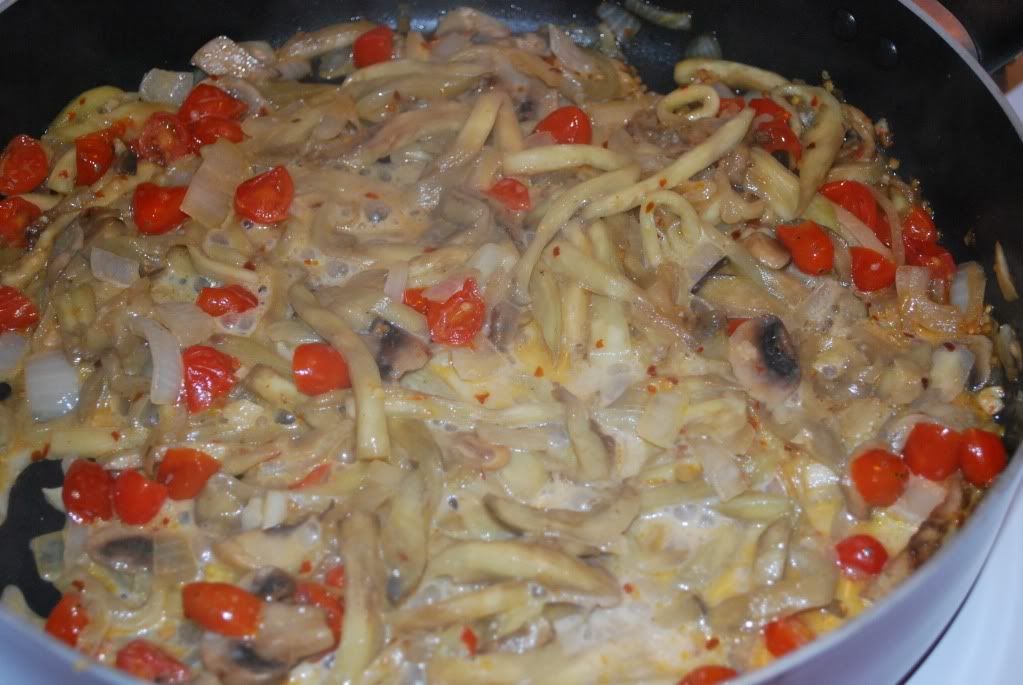
Sauteing up the veggies
3 large chicken breasts
14.5 ounces fire roasted diced tomatoes
14.5 ounces black beans
1 small or medium onion
2 jalapenos
2-3 cloves minced garlic
6 cups chicken stock, or water
1-2 cups rice
1 Tbsp olive oil
Salt and pepper for taste
Grated cheese for taste
Lime for garnish

Ok, let me start by saying, in terms of the ingredients, I use a TON of cheese, I also might not use that much water or stock, it just depends on how much it takes to cover everything in the pot, and how thick I want the stoup to be. The rice plays a big roll in the thickness as well, so you can adjust that to maybe 1 cup if you prefer, or leave it out completely as many recipes do, but I like my rice. Also, this time around I used approximately 1 leek. Very tasty addition.

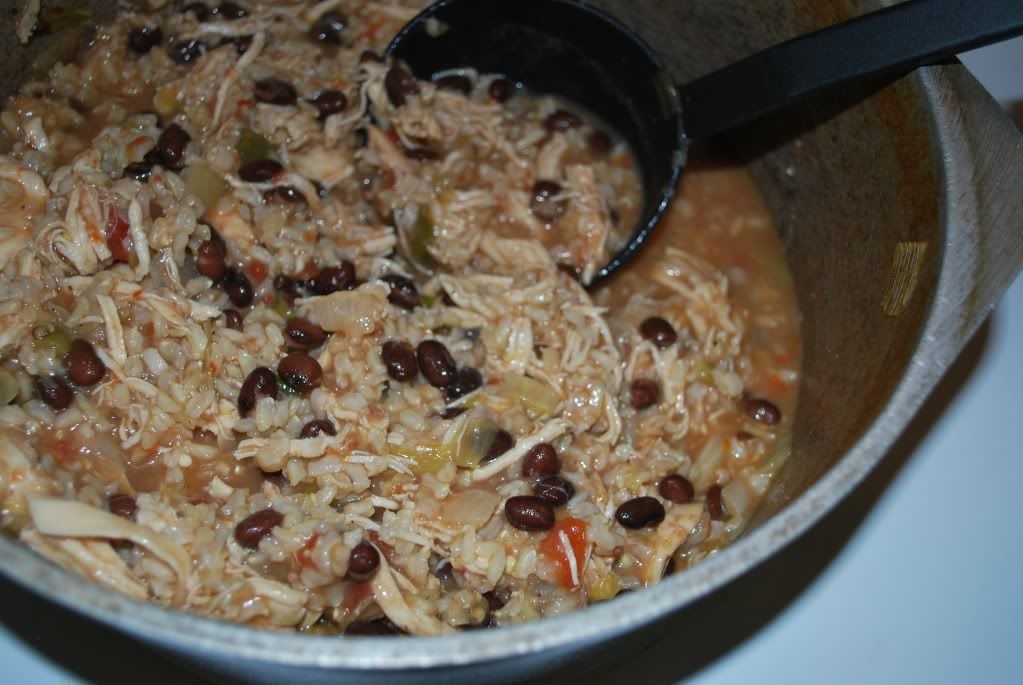
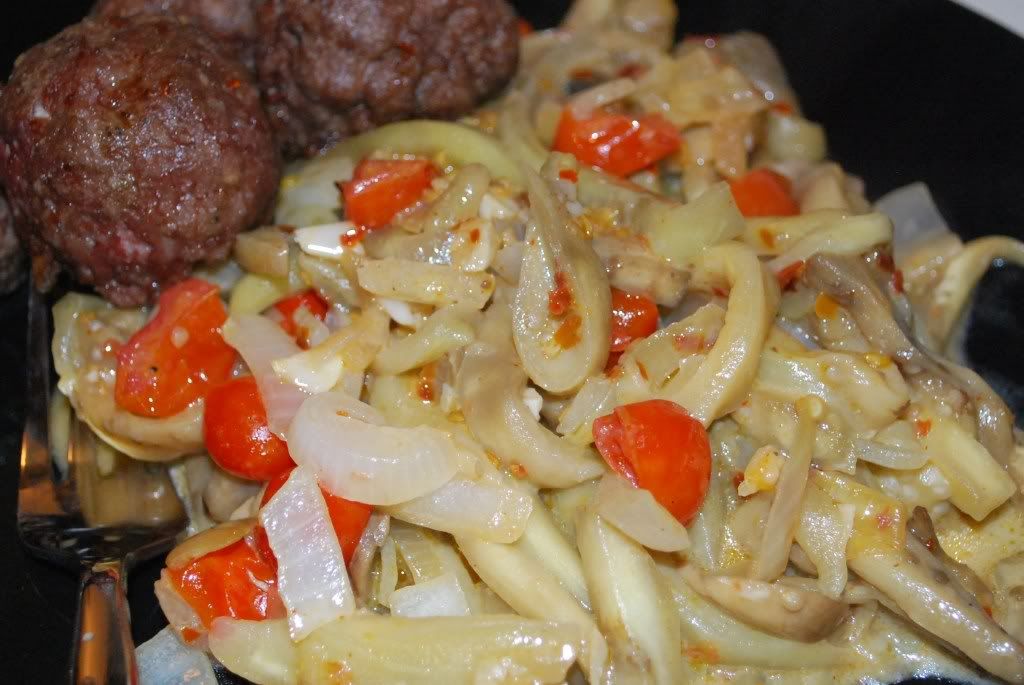
Looks like "blah" tastes like "BANG!"
In a large stock pot heat olive oil. Add the onion and leek for about 3 minutes. Then add garlic and jalapeno for another 2 to 3 minutes, or until the onions are beginning to get soft. Add the stock/water, tomatoes, beans, rice, chicken, and salt and pepper, bring to a boil. After it starts to boil, lower the temp and cover the stock pot. Let the chicken cook for at least 30 minutes. I usually let it all cook for more like 45 minutes or even longer. When the chicken is tender enough to shred with two forks, do so. Let everything simmer for about 10 minutes longer. Add salt and pepper as needed. Place in bowls, garnish with grated cheese and lime.

I also discovered a nice little tip this time. At the first taste test my mouth was pretty much scorched with jalapeno spiciness... too spicy to be tasty, so upon a little google research and many choices I decided to add about 1.5 teaspoons of baking soda, which is supposed to quickly counteract the spicy. And it did! Hoorah! Other options were cheese, sour cream, etc. Just a little tip-ti-dip from me.

And now, no, I did not forget. I owe you cupcakes. I do not disappoint.


I've been checking out this blog (<-click for link) and am completely in love with the idea of only making enough dessert for two. That being said, all of her cupcake recipes make 4 cupcakes! The man and I would absolutely scarf down 2 cupcakes apiece but I decided, to celebrate the in-laws coming to visit this weekend, we could all suffice with only 1 per person. Upon telling my husband my brilliant cupcake plan he, in a nutshell, said "Noooo, I want all the cupcakes for myself." I then had to remind him that he lived with me and that I would make him cupcakes any time he wanted them. This appeased his inner cupcake demon.

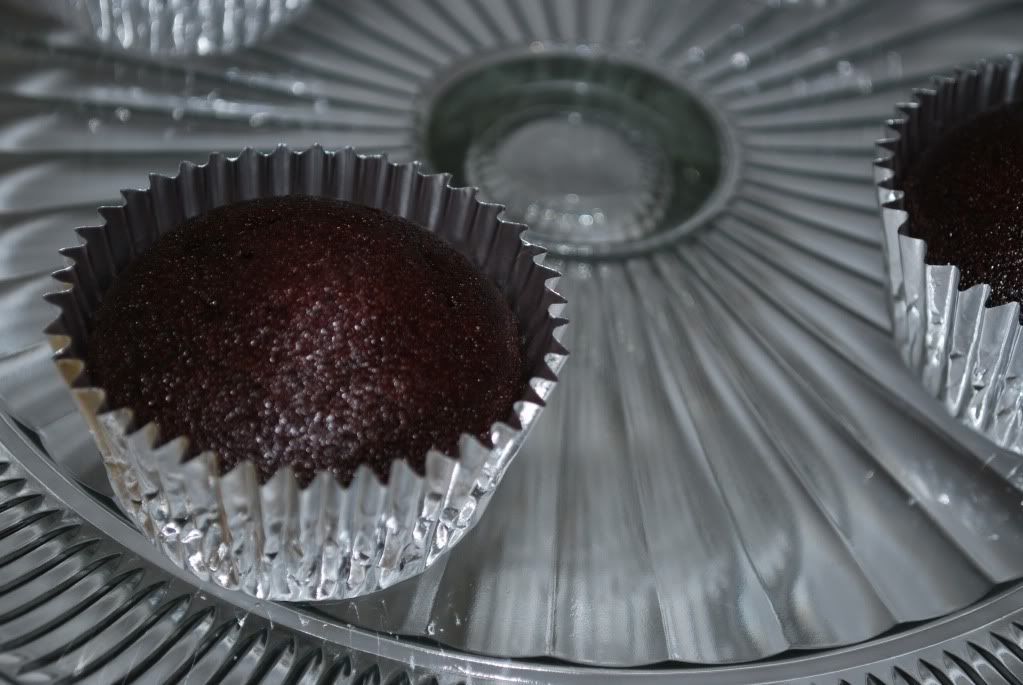
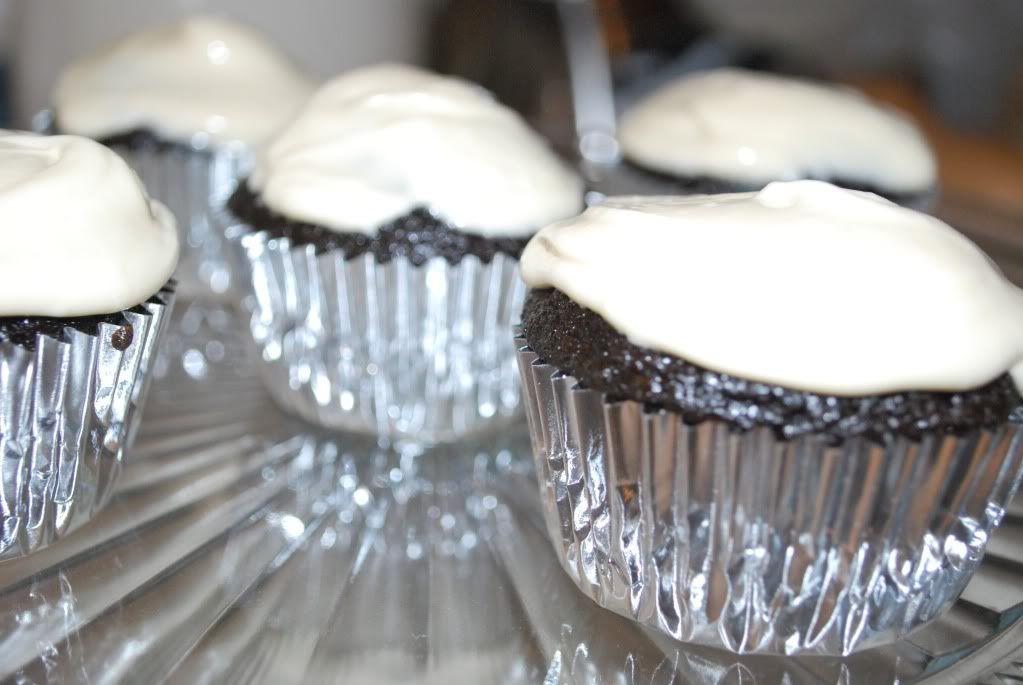
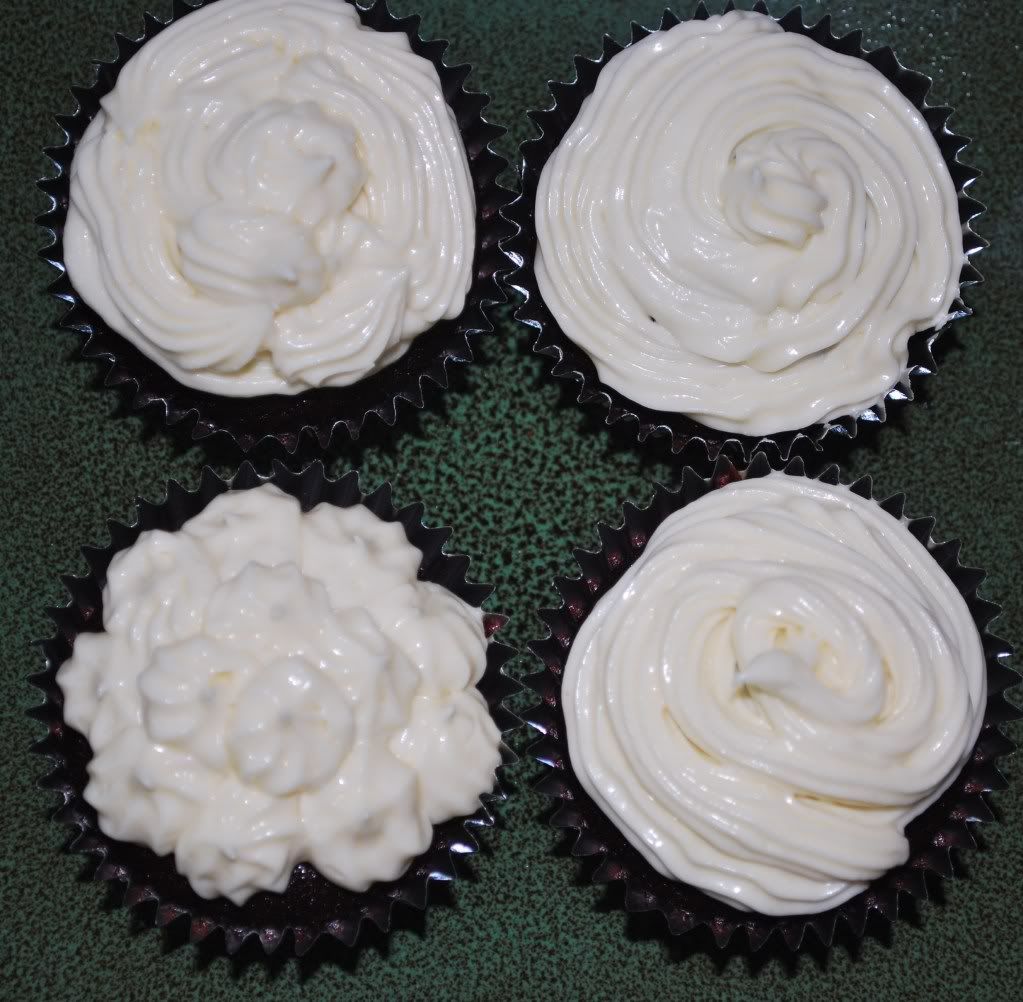
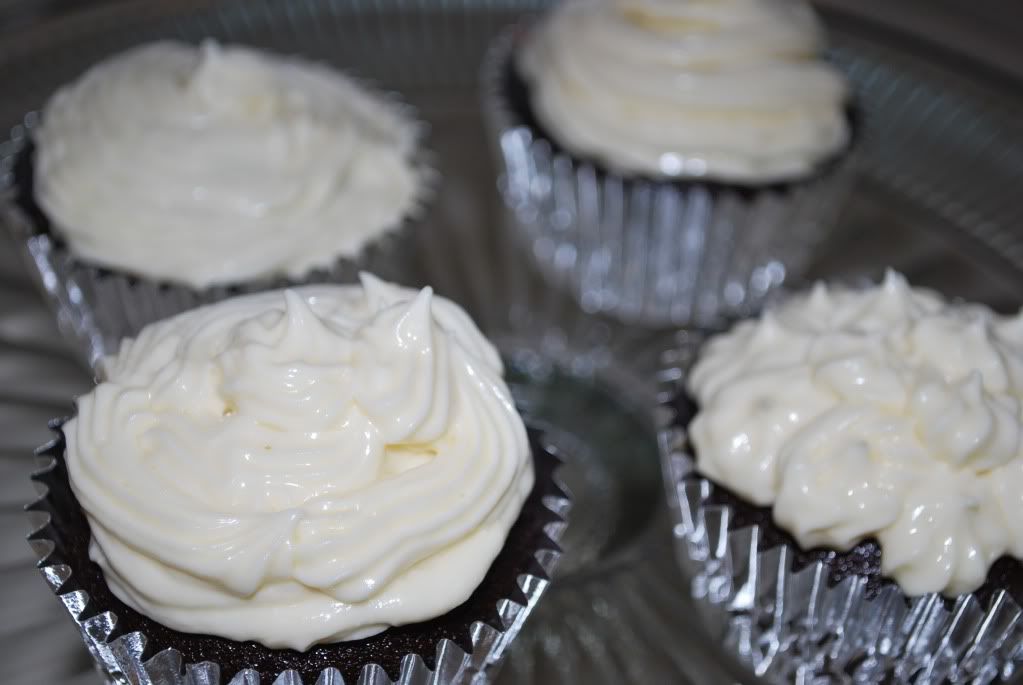
I decided on Ms. Christina's Red Velvet Cupcakes with Cream Cheese Frosting. Recipe can be found here.

This recipe was so good. No joke. I have to be skrate though... I did not follow it exactly. Eep. I know. If there's one thing y'all should learn from me it's that I don't follow recipes well. My first question was "what on earth is the vinegar for?" Cause I had never worked with that before in baked goods. Christina told me it was to make the cupcakes rise. I looked up substitutes for it (as I don't have it just laying around my kitchen), and found that you can sub lemon juice, but then wound up going to the store last night anyway so, I picked some up. What I did not pick up, however, was buttermilk. Double eep! I substituted a little fakey buttermilk, by mixing some regular milk with extra white vinegar. This seemed to do the trick just fine.

Furthermore, let me say, I have seen some lovely pictures of gorgeous red velvet cupcake batter, but I have to admit, mine looked like fake Hollywood blood. And baked very dark. Any tips? Yeah. I also got that nefarious batter splatter that I ALWAYS get. Any other bakers have that little guy lurking around every batch of cupcakes? Man, that ish pisses me off! Just get in the appropriate place you glob! 

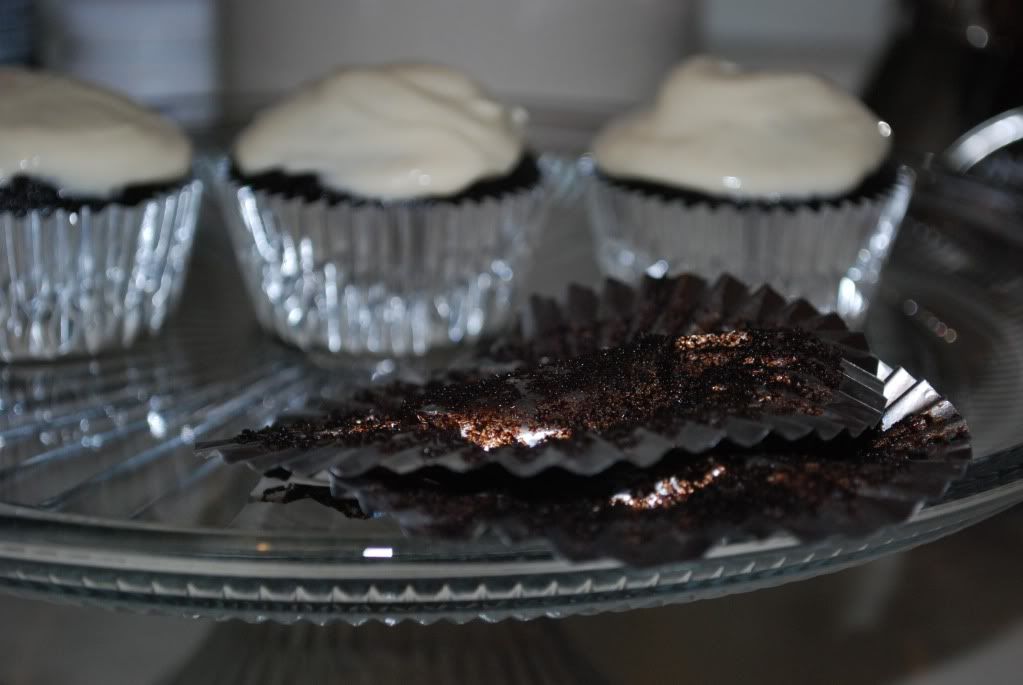
After the cupcakes cooled it was time for frosting. Holy dancing sugar plums Batman. This frosting is the REAL DEAL. It was so delicious I probably could have put it on a piece of homemade honey wheat bread and eaten it like that.

Oh wait. I did. For lunch, no less.

Only because there was so much left over though! This amount of frosting could have easily frosted about 2 to 3 more cupcakes, maybe even 4 if you pushed it. But maybe I'm just not a frosting fiend? Who knows. It was the best frosting I've tasted in quite some time. I'm thinking it will be my new go-to frosting recipe. For everything. Or just, you know, everything that requires frosting anyway.

So, there you have it. A very successful meal for the mister and the parentals, on what is increasingly becoming chilly Georgia nights. NOW GO MAKE THIS FROSTING. Right meow.

Cook on.