Yes! This will probably be my favorite monthly post. I am part of a group call
Daring Kitchen. This includes Daring Bakers and Daring Cooks. Every month each group gives it's members a challenge in the baking world or cooking world. On the 14th of each month Daring Cooks reveal their completed challenge and on the 27th of each month, IE: TODAY!, Daring Bakers reveal their completed challenge.This month's challenge host was Mandy at
What The Fruitcake?! She challenged us all to make homemade decorated sugar cookies with the theme of what September means to us.
Awesome.
This challenge took me 7 hours.
7 whole hours. Ok, no, not really. Some of it is freezing time, some of it is baking time, some of it is cooling time but once the decorating starts, WHEW! No resting then. It was really fun though, especially once I got the hang of it. Which would also be known as: after I had already messed up all my really good looking cookies. But, c'est la vie.
So the cookie recipe itself it so easy.
So easy y'all. Sugar, butter, flour, egg, extract.... that's it. Mandy's recipes sources were:
Basic Sugar Cookie recipe adapted from
Peggy Porschen:
http://www.peggyporschen.com/images/press/pdf/Coso-Bride-Oct-Nov-2008.pdf

So, check those out if you'd like to try these cookies yourself.
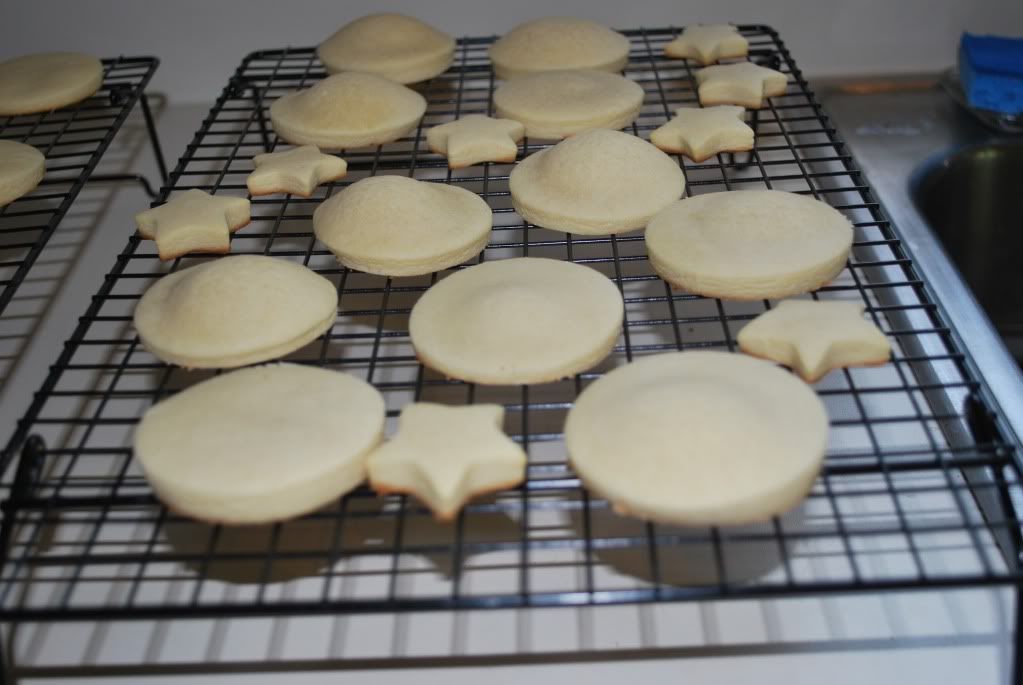
To start I made the cookie dough, per the instructions. Split it into two sections. Rolled those out with parchment and put them in the freezer. And here was my first challenge. I had never rolled anything out with parchment paper before, I always just use a floured surface. The parchment paper went all over the place every time I tried to roll the dough! It was a pain, for sure. I wound up sticking my kitchen aid mixer on one side and just rolling from one angle, which kind of sucked. It worked out in the end though so, that's all that matters. After letting the dough chill I cut out my shapes, simple circles and a little star cookie cutter. Then back into the freezer for another 30 minutes. After that I baked the cookies in three batches. Two batches of circles for 14 minutes each, and one batch of stars for 8 minutes. The first batch of cookies and the batch of stars turned out great but something went amiss with the second batch of circles..... they rose. Which, if you don't know, sugar cookies are not really supposed to do. Upon examining the cookies I found that the bottom was blown out and I'm thinking what happened was that the second batch was made from scraps that I rerolled and chances are I didn't knead the dough enough and got air bubbles in the cookies. Still, it was very weird.
After letting the cookies cool for about 2 hours I started on the icing. This was my first time working with royal icing and I made quite a few mistakes, but I know where I went wrong so, that's good news, ha. My first mistake was mixing the icing, placing some of it in other cups for other colors, then filling an icing bag with the white icing and starting before mixing the other colors. I realize now that I should have mixed all the colors, place them all in their icing bags,
then started. I also realize now that my base white icing was way too runny at first. I quickly learned to add more confectioners sugar.... and to put some parchment paper beneath the cookie rack I was icing on, ha. But, it still turned out pretty good.
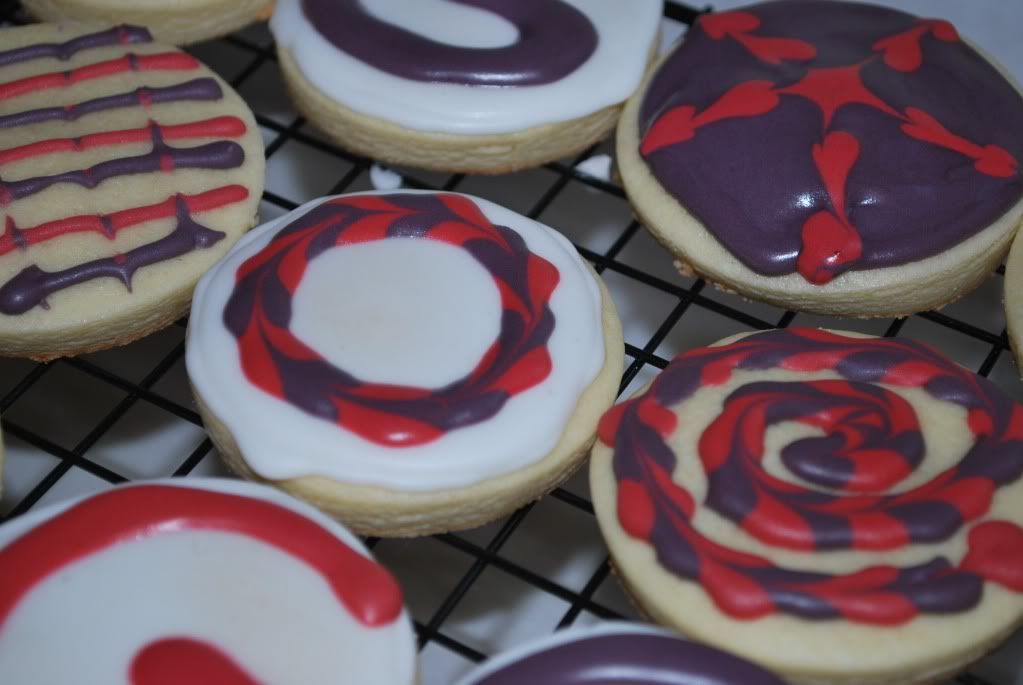
The theme I had decided on for my cookies was going to be "Georgia," as my husband and I just moved here. While trying to mix my black and red, however, I realized that wasn't going to work. My black looked purple, and the red looked pink. So, I made a few "G" logos then decided to just play around with some techniques, as you can see.
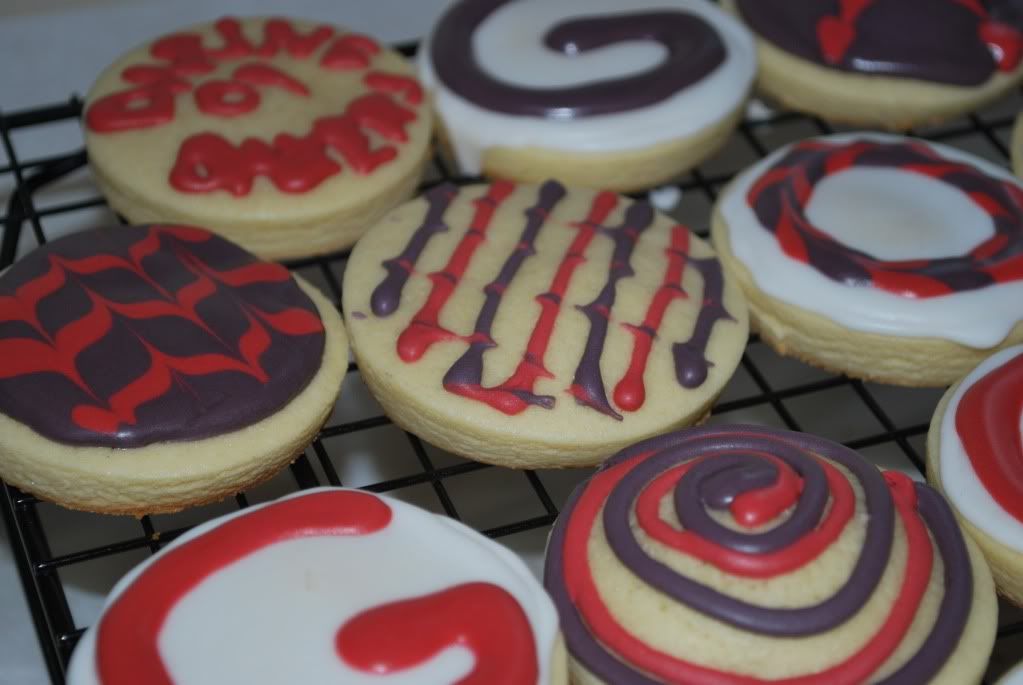
Overall I'm super happy with my first attempt at decorated sugar cookies. They're not perfect, but they're cute. I have a technique down now and feel like my next batch will be much better.
And, I gotta say, even though they're not perfect, they still tasted amazing!
Thanks Daring Bakers!
Cook on!
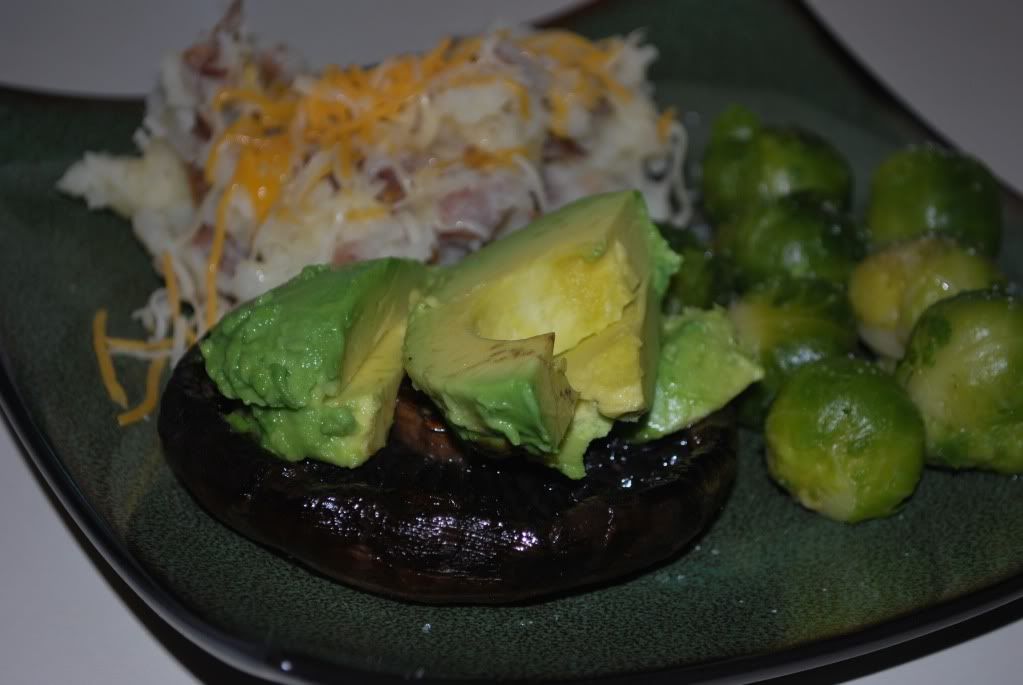
 I thought I had discovered their awesomeness in college. A little place I frequented, Magnolia Cafe, had a sandwich called the portobello melt. Mushrooms, peppers, cheese.... so good. It is strips of mushroom though, not the whole cap, which I didn't realize would be so different. But still, I loved it.
 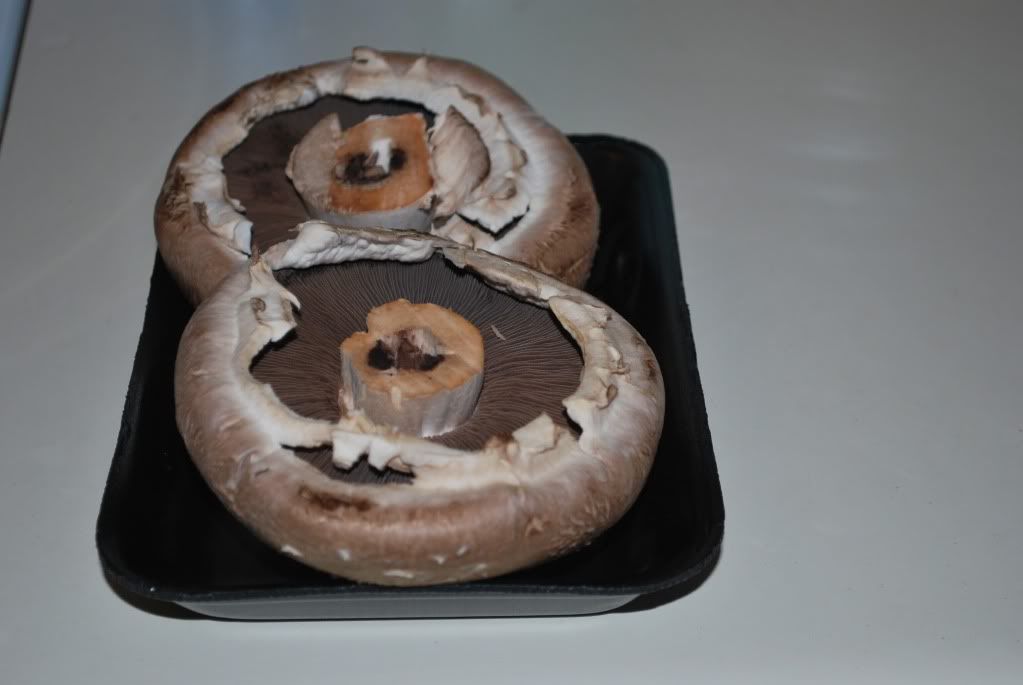 Grilled Portobello Mushroom "Steaks" serves 2
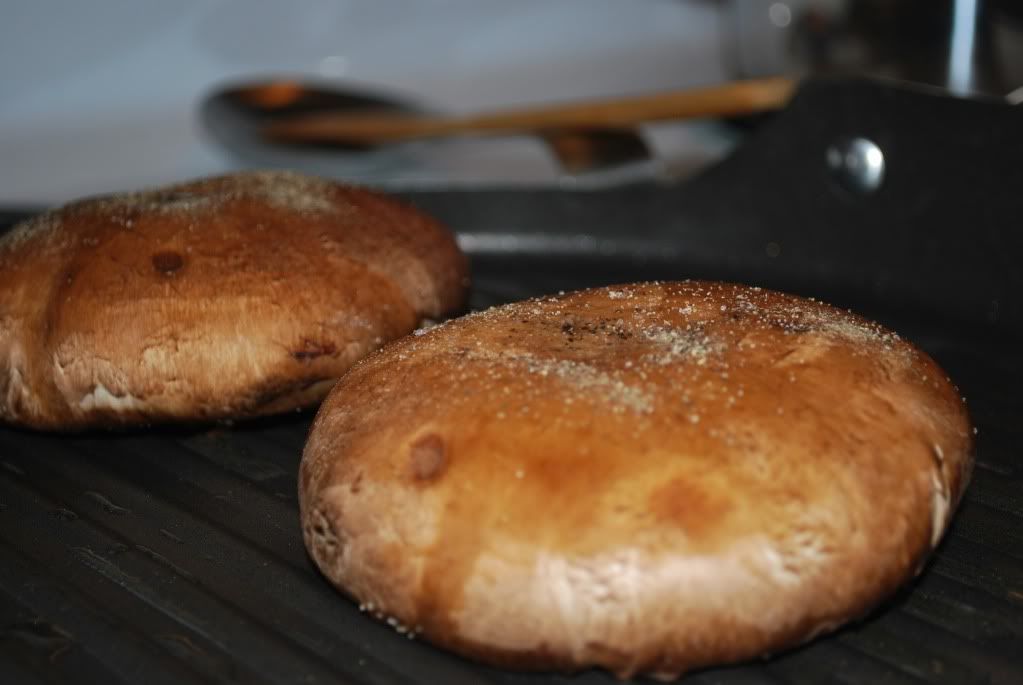
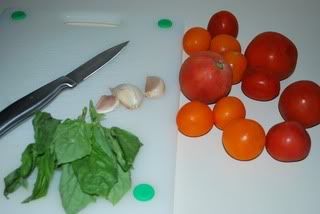
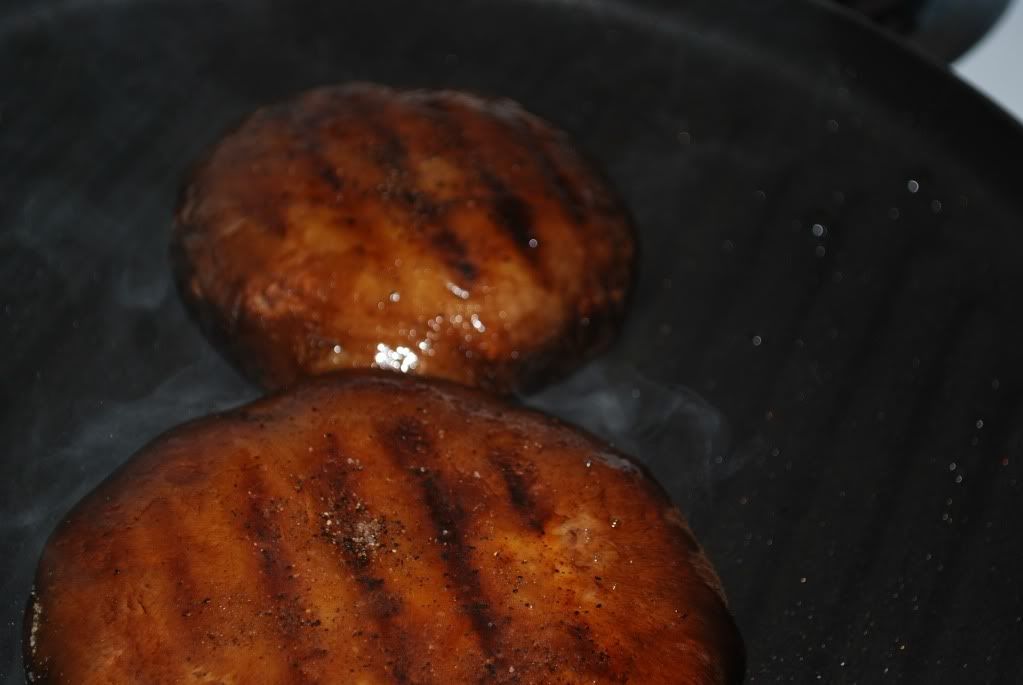
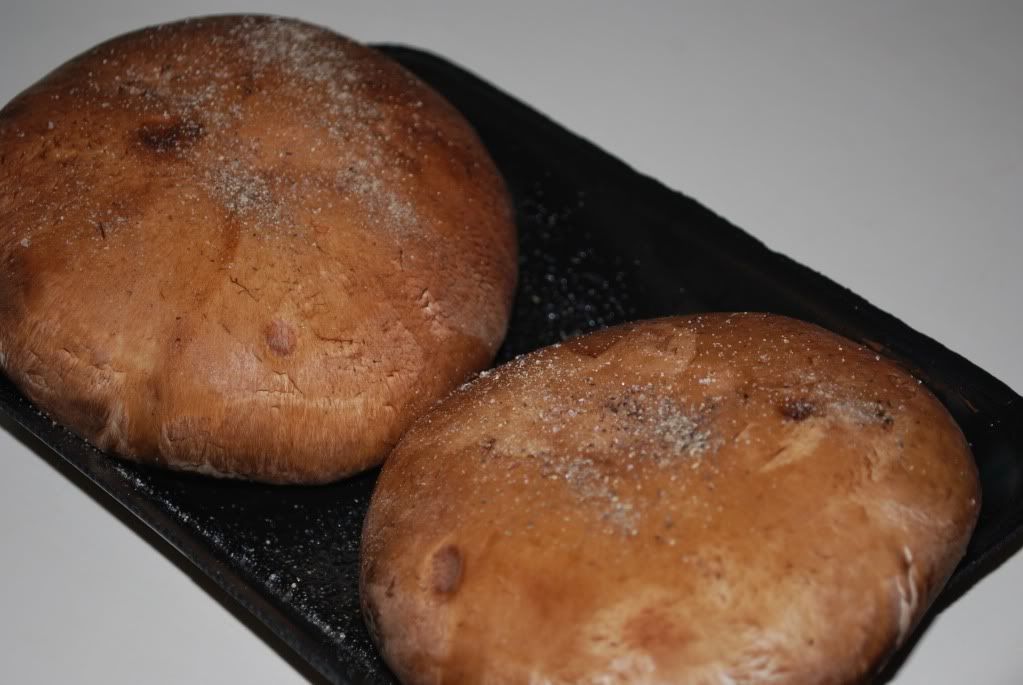 Start with two caps that are about the same size. The stem should be cut fairly low. Drizzle the caps with olive oil, on both sides. Liberally sprinkle with salt, pepper, garlic powder or any other spice you enjoy. Place on a hot grill pan that has been lightly coated with olive oil, a saute pan would probably work as well. Cook for 7 to 10 minutes, turning two or three times. The mushroom will get much darker as it cooks.