April 26, 2011

.mmm, cake.

For the last few days I've had two bananas slowly getting more ripe by the day. I specifically told the man, "Don't eat those!" just so I could bake something delicious. I rarely get to bake with bananas because, really, he eats everything, even ripe bananas. While these were ripening I had to decide what to make with them.

After sitting at a tire and auto place yesterday for 4.5 hours to get my brakes fixed I came home and decided I needed a piece of cake. Dammit. So, banana cake it was. I made a super simple recipe. No frills. Just straight up banana cake deliciousness. The recipe makes an extremely moist and fairly dense cake. It's also not too sweet, which the man and I liked. Most banana cake recipes call for a full cup of sugar but I refuse to use that so, if you want it to be sweeter you could add the whole amount of sugar. I was also thinking it would be nice with a drizzle of honey, maple syrup or a light cream cheese frosting. Or you could just sprinkle it with a little bit of confectioner's sugar, like I did.


Banana Cake serves 8-10
1 1/2 cups flour
1/2 cup sugar
2 ripe bananas, mashed
1/2 cup oil
4 eggs
2 teaspoons baking powder
1/2 teaspoon salt
1 teaspoon cinnamon
1/3 cup pecans, chopped (optional)

Preheat the oven to 350 degrees. Lightly grease the pan of your choosing.

Cream the sugar, bananas and oil together in a mixer. Add the eggs, one at a time. Add the flour, baking powder, salt and cinnamon. Mix well. If you're adding nuts you can stir them in now, or just layer them over the top like I did.

Bake for 40 to 45 minutes, or until an inserted toothpick comes out clean. Enjoy!

XO

April 20, 2011

.daring cooks challenge: april.

Renata of Testado, Provado & Aprovado! was our Daring Cooks’ April 2011 hostess. Renata challenged us to think “outside the plate” and create our own edible containers! Prizes are being awarded to the most creative edible container and filling, so vote on your favorite from April 17th to May 16th at http://thedaringkitchen.com!

Since I am, so predictably, late on this month's challenge I'm not eligible for voting. But, hopefully I will be for the Daring Bakers challenge. Y'all know I'll let you know. Ha.


On to the challenge though. Edible containers. WOW. This was a really fun challenge. The first thing I thought of was the obvious bread bowl. This would have been delicious, fun, and truly a challenge for me but I didn't feel like it was "thinking outside the plate," so I nixed it and thought harder. One of the few things I remember my father cooking when I was a child were potato pancakes. They were kind of his "thing," and man are they delicious. I decided to try to make potato pancake cups and fill them with sausage and eggs.

I started with a grated potato and an egg. I was going to use two potatoes but, I'm not going to lie, I hate grating potatoes and I got sick of it after one so, there you have it. I preheated the oven to 350, sprayed a muffin tin with some pam, and put the potato and egg mixture into as many muffin slots as I could. I probably used roughly 1.5 to 2 tablespoons of potato mixture per muffin cup. I baked this for 22 minutes.

What came out was.... well.... not exactly what I was going for. Ha. They were more like small potato pancake discs. After placing very little sausage and egg mixture into them and taking the top picture, the man and I just loaded up our plate and chowed down. The meal itself was very tasty, but the potato cups were not as "container-ey" as I wanted them to be. You live, you learn, n'est pas?

XO

April 3, 2011

.sugar and spice.

I have a very fun announcement for today! Well.... it's only fun if you don't already know the news. And I've announced it to pretty much everyone so, there will probably only be a few of you who didn't get the memo. Regardless, it's time to announce the sex of the baby! We just found out last week and I was very excited to do something food related to announce it on the blog.

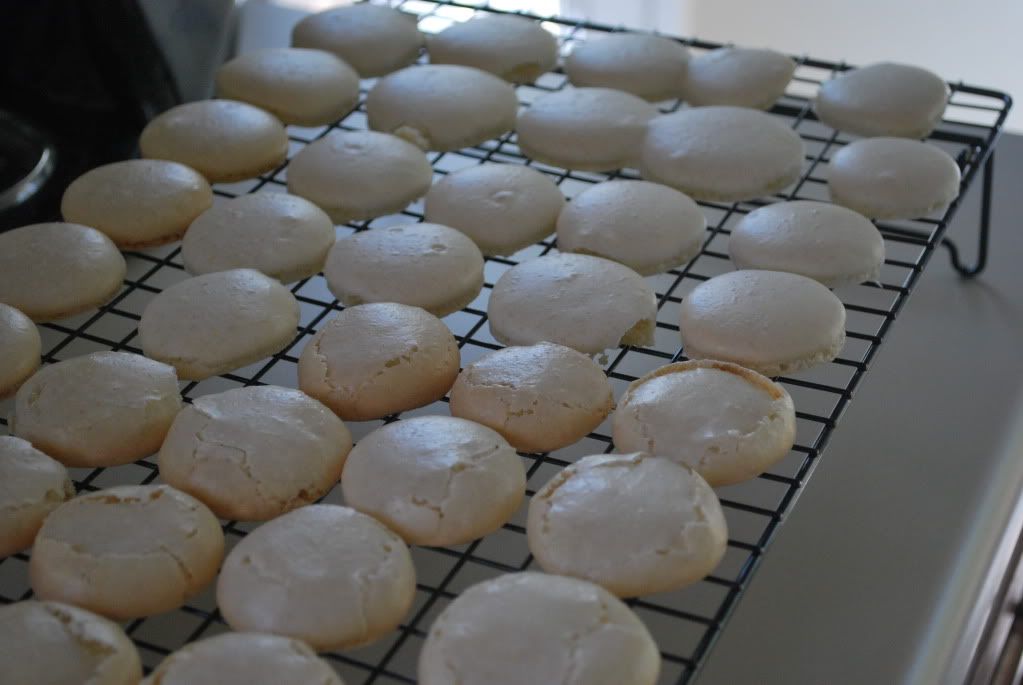
The crumbled ones and the good ones. They're friends.
I decided to do something that has been on my list for awhile now, macaroons! Way exciting, right? The entire food blog community is all abuzz for macaroons. According to the general consensus, macaroons are tough to make because they don't always get their "feet." The general consensus was right, whew. Out of my whole batch I would say about 1/3 just kind of crumbled, and did not get feet. 1/3 got feet but did not really set up well so they broke when I went to move them from the cookie sheet to the cooling rack. The last third got perfect feet and looked kick ass! They all tasted delicious though, and of course we ate the rejects.

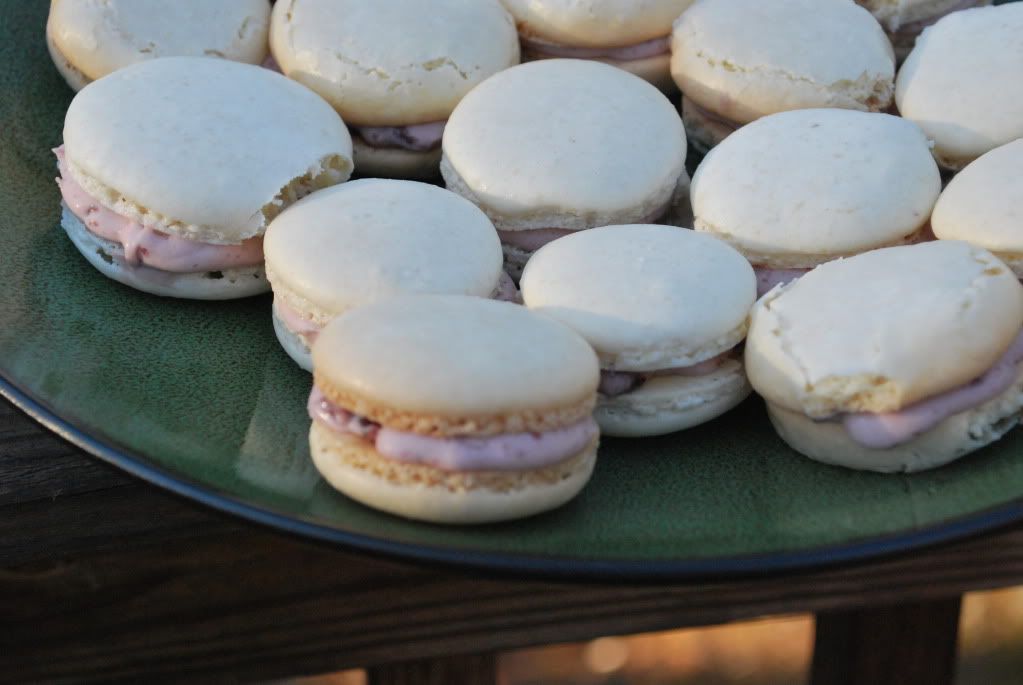
Now, you might be wondering how macaroons have anything to do with the sex of the baby. They don't. But the filling does! I used a quick mixture of marscapone cheese with.........cherry preserves!! To make the filling a nice PINK color for a GIRL!!! Woot!

Almond Macaroons makes roughly 30 shells
1 1/4 cups confectioner's sugar
1 1/2 cups almond flour
3 large egg whites
Pinch of salt
1/4 cup granulated sugar
1/4 teaspoon almond extract

First, set the egg whites out so they become room temperature, this will help when whipping them. I left them out for about 2 hours before making the macaroons.

Preheat the oven to 300 degrees Fahrenheit. Line two cookie sheets with a silpat or parchment paper. Sift the confectioner's sugar into a medium bowl. Whisk the almond flour into the bowl as well. Set aside.

Whisk the eggs on medium speed until foamy. Add the salt and granulated sugar. Continue to beat until soft peaks form. Fold in half of the dry ingredients until incorporated. Add the almond extract and the rest of the dry ingredients. Transfer to a pastry bag fitted with a tip that has a large, round opening. Pipe the mixture onto the cookie sheets in roughly inch wide circles, or slightly larger if you prefer. Be careful to give them enough room, they will spread a little bit. A couple of mine wound up touching but they broke apart easily when they were done baking.

Bake for 20 to 25 minutes, rotate the cookie sheets halfway through. Let cool for a few minutes then transfer to a wire rack to cool completely. Match up the cookies with similar sized cookies so each one has a pair. Place a small amount of your preferred filling onto one cookie, then sandwich it together with the other cookie.


Like I said, I used marscapone and cherry preserves. How much of each just depends on personal taste. I really liked this filling because the marscapone and cherry wasn't too sweet and balanced out the sweetness of the cookies. I also liked it because it was PINK, of course!

XO