Ok. Let me start by saying, I am SO disappointed! The man and I did tons of Halloween decorating, (and by tons I mean we decorated two pumpkins) then we bought a metric ton of candy (and by that I mean one bag) and then no trick or treaters came to our house!!! Argh! Little brats!
Anyways, the upside to this is that we have kick ass pumpkins, a boat load of candy and..... roasted pumpkin seeds!
It came to my attention that not everyone has had the Halloween upbringing that I did. Perhaps it has something to do with having an October birthday? Regardless, the Man had never carved a pumpkin before in his life! Never! I was shocked and appalled and hell bent on fixing this at once.
Here are the fruits of our labor.

Now, I know what you're thinking. "Aw, he did a cute little kitty cat for his first ever pumpkin." And you would be wrong. He spent three labor intensive hours carving a negative space piece of gourd art. And I made the shitty cat face.
He told me, "If I'm going to do something, I'm going to do it right." So, there it is. Yoda's head. In all its shining glory. We have already decided next year we will be doing multiple large pumpkins in a Star Wars theme. That is his request.
I also realized my Halloween fortune when a friend asked what to do with those pesky little pumpkin seeds. When I was a kid we would carve pumpkins every year and then roast the seeds to snack on over the next few days. A little kick of salt helps keep that sugar coma at bay.
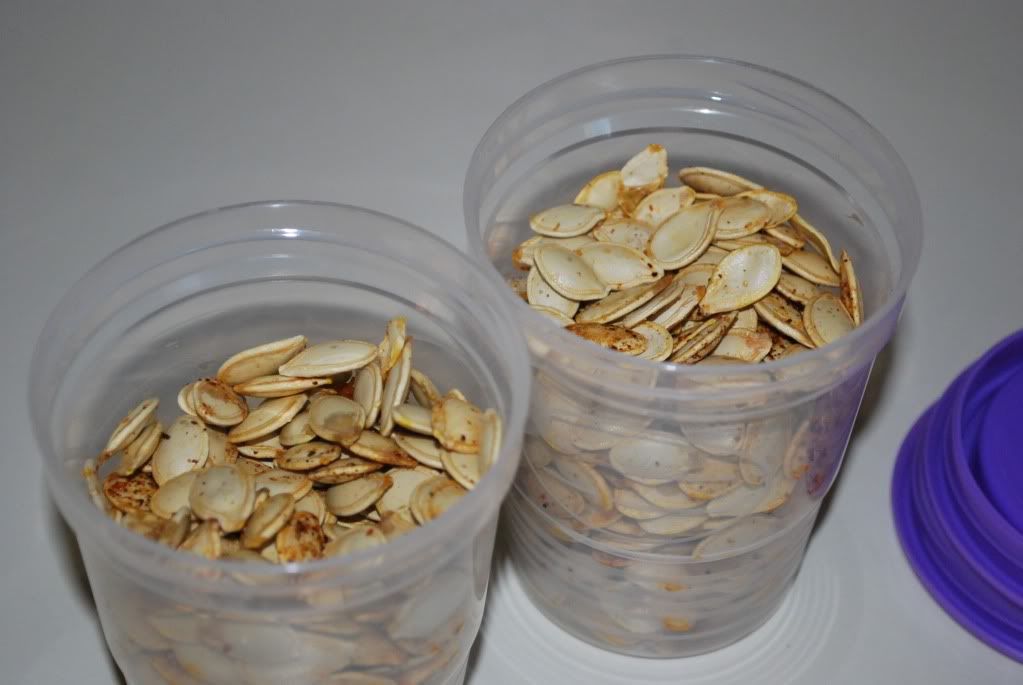
Roasted Pumpkin Seeds
The seeds of one or two pumpkins
1-2 tsp olive oil
Salt, chili powder, garlic powder for taste
Start by separating the pulp and guts from the seeds. This takes awhile but I found it was easiest to do it in the sink with two large mixing bowls. Wash the seeds and dry them slightly with a paper towel.
Preheat oven to 325 degrees.
Toss the seeds with olive oil then spread them out on a baking sheet in a single layer. Sprinkle them with the salt, garlic salt and chili powder, or whatever spices you would prefer. Bake them for 25 minutes or so, checking and stirring them after 10 minutes.
Cook on!
October 31, 2010
October 30, 2010
.hey y'all.
So, there hasn't really been much fun happening in my kitchen for the last few days. Lots of egg salad sandwiches, easy pasta, crackers with cheese, and then we ate out for sushi..... yeah. I love to cook but sometimes a few days go by when we're happy eating sandwiches for dinner. This week has been one of those times.
I will add though, that a boca burger (vegan original), cooked with a teaspoon of olive oil in a saute pan, topped with an egg cooked over-medium (you know, not over-easy but not quite over-hard), with a dash of salt is pretty much the most delicious post-workout food ever.
Go on. Go try it. I promise.
Cook on!
I will add though, that a boca burger (vegan original), cooked with a teaspoon of olive oil in a saute pan, topped with an egg cooked over-medium (you know, not over-easy but not quite over-hard), with a dash of salt is pretty much the most delicious post-workout food ever.
Go on. Go try it. I promise.
Cook on!
October 27, 2010
.daring baker challenge: october.
Who knows what these are?
.
.
.
.
.
.
.
.
.
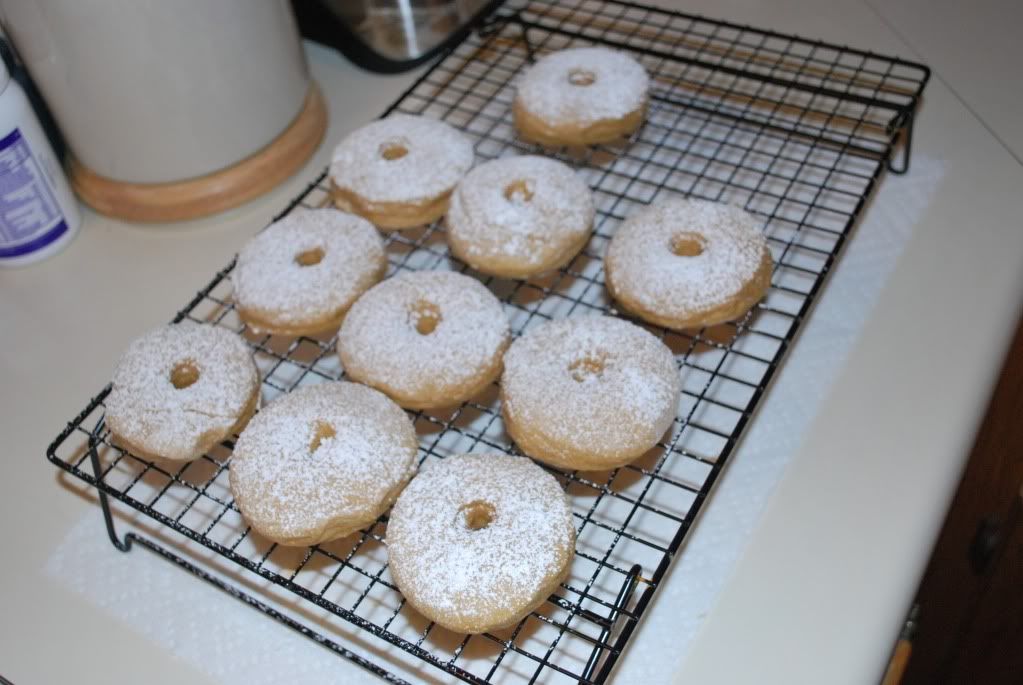
Doughnuts!!!
This month Lori, at Butter Me Up, decided the Daring Baker challenge should be some form of doughnut. Now I love doughnuts as much as the next person (or, at least, out of people who love doughnuts) but I had never really had the desire to make them myself. After a bit of research I decided I wanted to make baked doughnuts, as I'm a bit terrified of frying things at home. I was pretty happy with my decision. They turned out very light and tasty, and were not very hard at all. I also chose a recipe that didn't call for yeast so it didn't have to rise for hours.
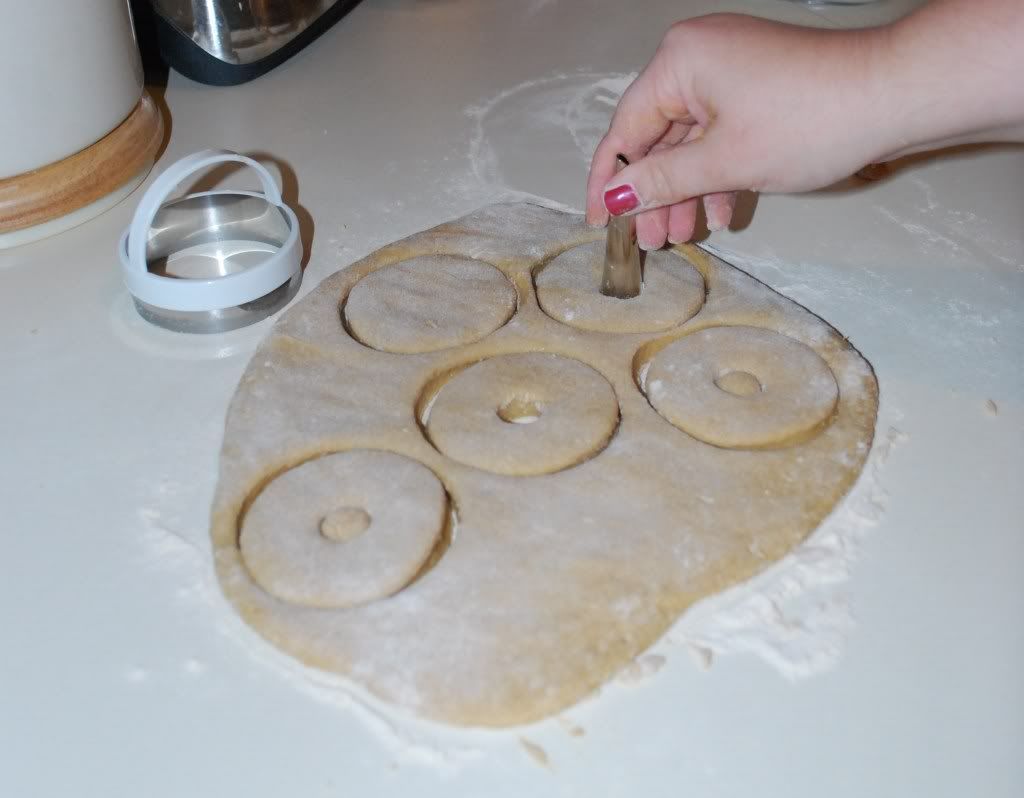
I used a recipe from Nicko's Kitchen, which can be found in the second video here. They really were just as easy as he makes them look. The only issue I had was my dough was way too sticky to work with so I probably wound up adding 1/4 cup extra flour, or more. I used white whole wheat flour, my new favorite, and added a few shakes of ground nutmeg and cinnamon. To cut them out I just used a biscuit cutter and the big end of a piping tip for the middle hole. Cause, really, who wants to go out and buy doughnut cutters?
I was running out of time to complete the challenge so I just did a simple sprinkling of powdered sugar, rather than icing or a glaze. I think it makes a nice, classic look to the doughnuts. And gives them just a little extra sweetness without tons more sugar!
Will I make doughnuts again? No, probably not. Ha. It was fun. And easy. And they did taste good. But overall I'd rather just eat one deliciously fried and iced doughnut from the store. The man loved them though and, since I'm such a good wife, I probably will wind up making these again, with some more adaptations.
Cook on!
.
.
.
.
.
.
.
.
.
Doughnuts!!!
This month Lori, at Butter Me Up, decided the Daring Baker challenge should be some form of doughnut. Now I love doughnuts as much as the next person (or, at least, out of people who love doughnuts) but I had never really had the desire to make them myself. After a bit of research I decided I wanted to make baked doughnuts, as I'm a bit terrified of frying things at home. I was pretty happy with my decision. They turned out very light and tasty, and were not very hard at all. I also chose a recipe that didn't call for yeast so it didn't have to rise for hours.
I used a recipe from Nicko's Kitchen, which can be found in the second video here. They really were just as easy as he makes them look. The only issue I had was my dough was way too sticky to work with so I probably wound up adding 1/4 cup extra flour, or more. I used white whole wheat flour, my new favorite, and added a few shakes of ground nutmeg and cinnamon. To cut them out I just used a biscuit cutter and the big end of a piping tip for the middle hole. Cause, really, who wants to go out and buy doughnut cutters? I was running out of time to complete the challenge so I just did a simple sprinkling of powdered sugar, rather than icing or a glaze. I think it makes a nice, classic look to the doughnuts. And gives them just a little extra sweetness without tons more sugar!
Will I make doughnuts again? No, probably not. Ha. It was fun. And easy. And they did taste good. But overall I'd rather just eat one deliciously fried and iced doughnut from the store. The man loved them though and, since I'm such a good wife, I probably will wind up making these again, with some more adaptations.
Cook on!
October 23, 2010
.eggplant-licious.
That's what dinner was tonight.
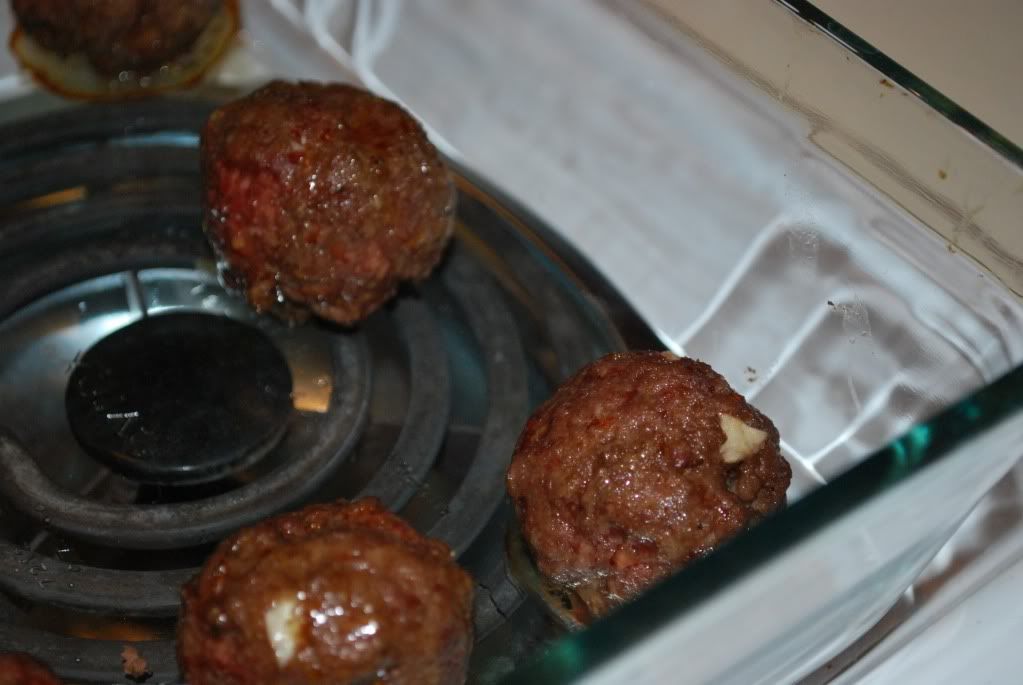
I've been eyeing Alton Brown's Eggplant Pasta recipe for quite some time and decided that today was the day. I made a few adaptations based on some things I had that I needed to use up, like some mushrooms, and just plain forgot an ingredient, the cheese. Despite this the dish was super tasty and I paired it with some quick and easy meatballs.
The first step is to peel and slice the eggplant length wise into thin, flat strips. Lay these out on a rack over a baking sheet and evenly coat them with salt. Let them sit for 30 minutes. While they are purging get the other ingredients ready by cutting the mushrooms, tomatoes, onion and garlic. You should also be starting the meatballs now. When the eggplant slices have a few minutes of purging left heat the olive oil in a large saute pan and add the other vegetables. Thoroughly rinse the eggplant, dry between paper towels, then slice into pasta sized strips. Add this to the saute pan, with the chili powder and red pepper flakes. You shouldn't need salt because there will still be some in the eggplant. After about 10 minutes the eggplant should look fairly cooked and be darker in color, add the milk and let this simmer for another 5 minutes or so. Mix with the meatballs and serve.
I've been eyeing Alton Brown's Eggplant Pasta recipe for quite some time and decided that today was the day. I made a few adaptations based on some things I had that I needed to use up, like some mushrooms, and just plain forgot an ingredient, the cheese. Despite this the dish was super tasty and I paired it with some quick and easy meatballs.
The recipe itself is labeled as "expert" on the Food Network website, but really I thought it was pretty easy, although a little time consuming. I'm going to give you guys my recipe adaptation, as well as the recipe for these meatballs.
Eggplant Pasta serves 2
1 medium to large eggplant
1 cup cherry tomatoes
2 large button mushrooms
1/4 cup onion
2 tablespoons olive oil
1 tsp chili powder
2 tsp red pepper flakes
1 clove garlic, minced
1/4 cup milk
salt for purging
The first step is to peel and slice the eggplant length wise into thin, flat strips. Lay these out on a rack over a baking sheet and evenly coat them with salt. Let them sit for 30 minutes. While they are purging get the other ingredients ready by cutting the mushrooms, tomatoes, onion and garlic. You should also be starting the meatballs now. When the eggplant slices have a few minutes of purging left heat the olive oil in a large saute pan and add the other vegetables. Thoroughly rinse the eggplant, dry between paper towels, then slice into pasta sized strips. Add this to the saute pan, with the chili powder and red pepper flakes. You shouldn't need salt because there will still be some in the eggplant. After about 10 minutes the eggplant should look fairly cooked and be darker in color, add the milk and let this simmer for another 5 minutes or so. Mix with the meatballs and serve. Meatballs makes 8 meatballs
1/2 pound lean ground beef
1 clove garlic, minced
1 tsp pepper
1 tsp garlic salt
1 tsp red pepper flakes
1 tsp chili powder
3 tbsp bread crumbs
Preheat oven to 400 degrees.
Mix all ingredients together with your hands, shape into 1 inch meatballs. Place on a baking sheet and bake for 20 minutes. Enjoy!
Cook on!
Subscribe to:
Posts (Atom)