Showing posts with label cookies. Show all posts

April 3, 2011

.sugar and spice.

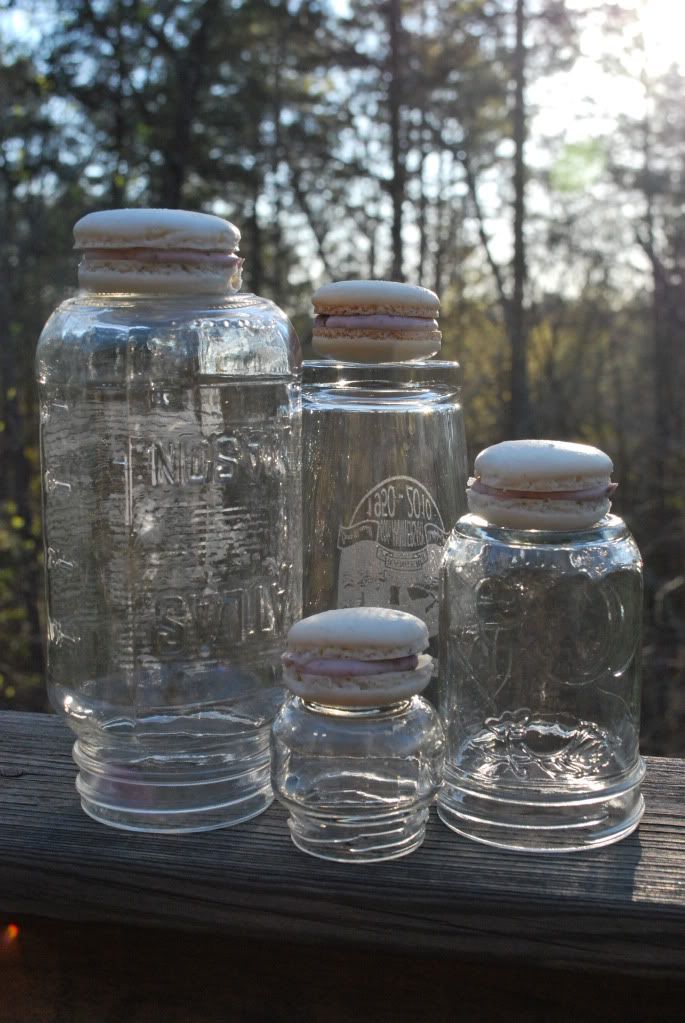
I have a very fun announcement for today! Well.... it's only fun if you don't already know the news. And I've announced it to pretty much everyone so, there will probably only be a few of you who didn't get the memo. Regardless, it's time to announce the sex of the baby! We just found out last week and I was very excited to do something food related to announce it on the blog.

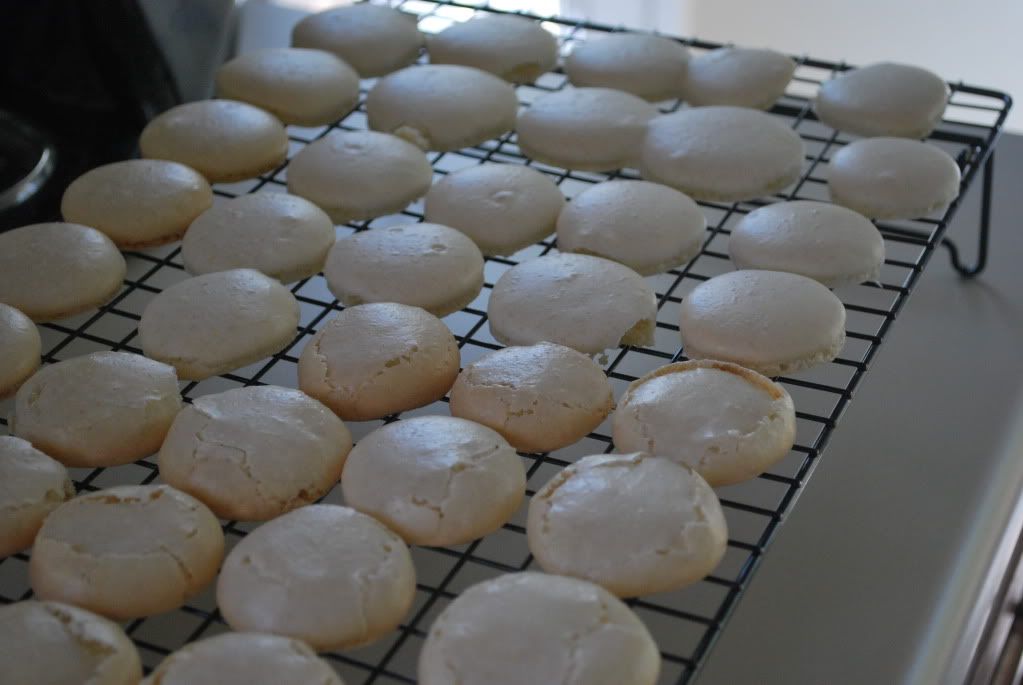
The crumbled ones and the good ones. They're friends.
I decided to do something that has been on my list for awhile now, macaroons! Way exciting, right? The entire food blog community is all abuzz for macaroons. According to the general consensus, macaroons are tough to make because they don't always get their "feet." The general consensus was right, whew. Out of my whole batch I would say about 1/3 just kind of crumbled, and did not get feet. 1/3 got feet but did not really set up well so they broke when I went to move them from the cookie sheet to the cooling rack. The last third got perfect feet and looked kick ass! They all tasted delicious though, and of course we ate the rejects.

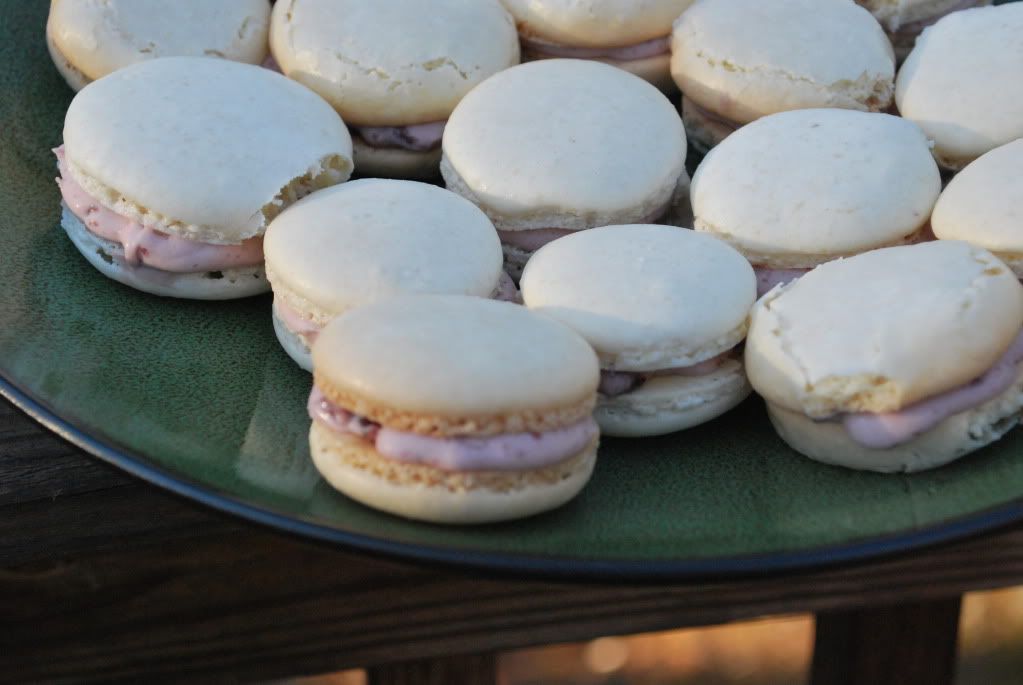
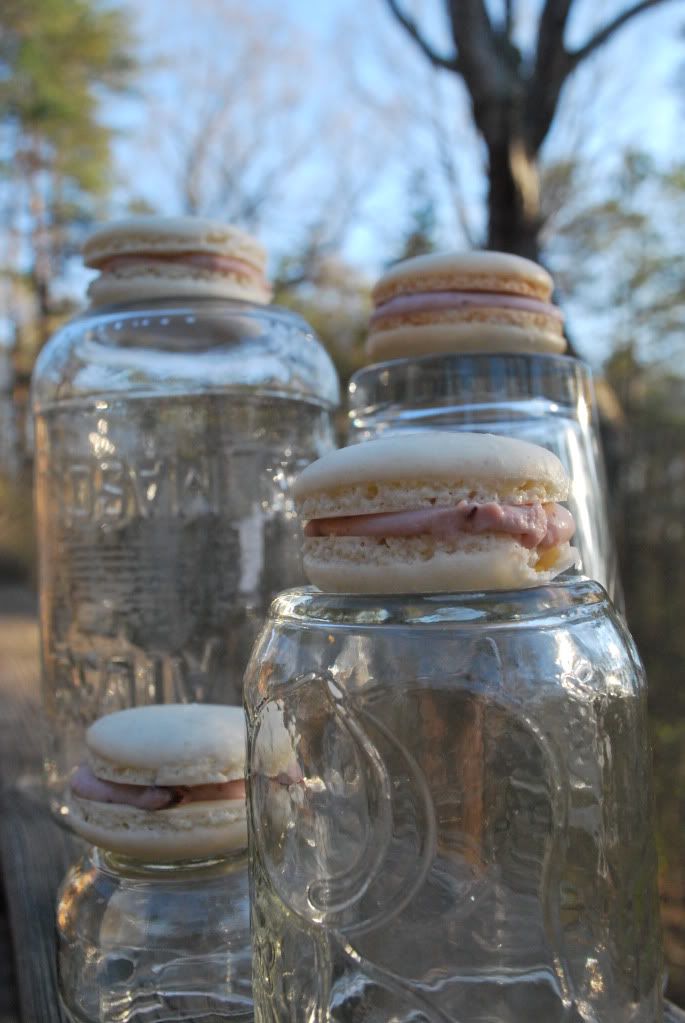
Now, you might be wondering how macaroons have anything to do with the sex of the baby. They don't. But the filling does! I used a quick mixture of marscapone cheese with.........cherry preserves!! To make the filling a nice PINK color for a GIRL!!! Woot!

Almond Macaroons makes roughly 30 shells
1 1/4 cups confectioner's sugar
1 1/2 cups almond flour
3 large egg whites
Pinch of salt
1/4 cup granulated sugar
1/4 teaspoon almond extract

First, set the egg whites out so they become room temperature, this will help when whipping them. I left them out for about 2 hours before making the macaroons.

Preheat the oven to 300 degrees Fahrenheit. Line two cookie sheets with a silpat or parchment paper. Sift the confectioner's sugar into a medium bowl. Whisk the almond flour into the bowl as well. Set aside.

Whisk the eggs on medium speed until foamy. Add the salt and granulated sugar. Continue to beat until soft peaks form. Fold in half of the dry ingredients until incorporated. Add the almond extract and the rest of the dry ingredients. Transfer to a pastry bag fitted with a tip that has a large, round opening. Pipe the mixture onto the cookie sheets in roughly inch wide circles, or slightly larger if you prefer. Be careful to give them enough room, they will spread a little bit. A couple of mine wound up touching but they broke apart easily when they were done baking.

Bake for 20 to 25 minutes, rotate the cookie sheets halfway through. Let cool for a few minutes then transfer to a wire rack to cool completely. Match up the cookies with similar sized cookies so each one has a pair. Place a small amount of your preferred filling onto one cookie, then sandwich it together with the other cookie.


Like I said, I used marscapone and cherry preserves. How much of each just depends on personal taste. I really liked this filling because the marscapone and cherry wasn't too sweet and balanced out the sweetness of the cookies. I also liked it because it was PINK, of course!

XO

December 18, 2010

.'tis the season.


I have a confession. I feel as though I should tell you all I have a little bit of a blog crush on the Pioneer Woman. My cousin Mandy introduced me to her website and I have been hooked ever since. She cooks. She bakes. She takes pictures of her children covered in manure. And so much more. I love it.

A short while ago she had a cookie week, in preparation for Christmas, no doubt. I bookmarked many of the recipes to try and this is the first one I got around to. I remember having something like this growing up but it wasn't one of the yearly traditional cookies that my grandmother made.

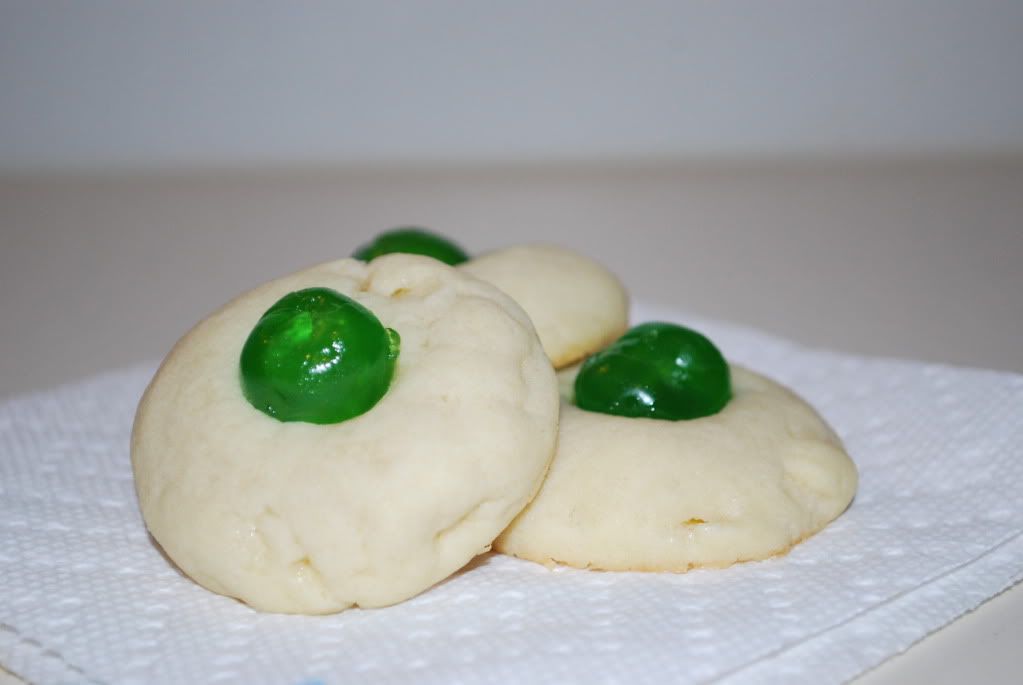
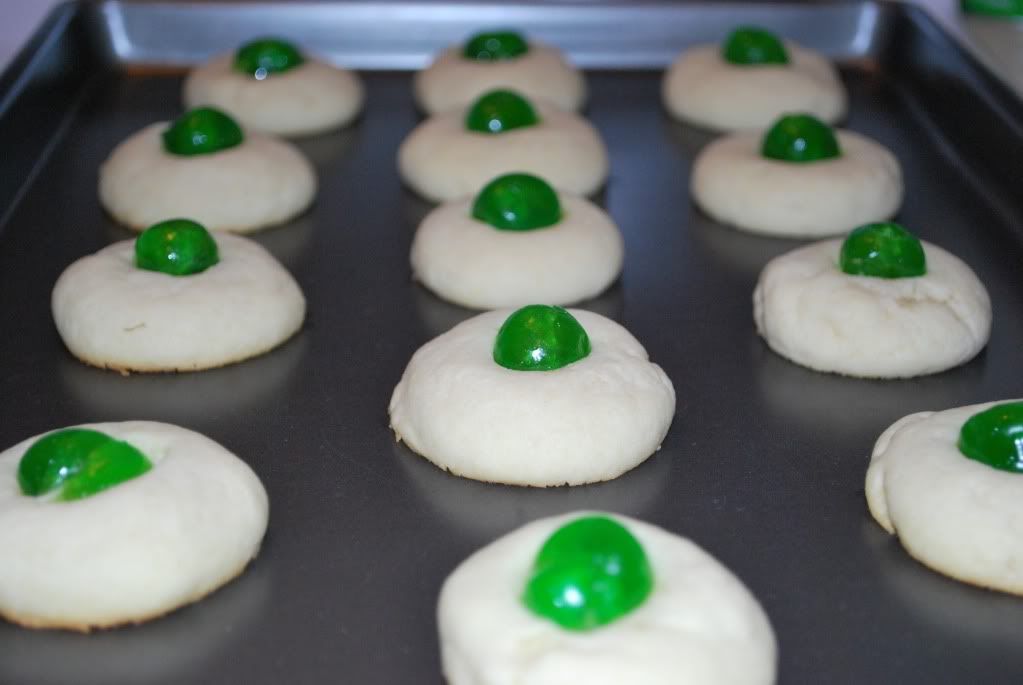
These cookies are off the chain. For real. They are light, airy, buttery and delicious. It's taking all of our self-control for me and the man to not go eat the rest of them right now. I halved the recipe and didn't add any of the lemon or orange zest, as I only had one stick of butter and no lemon or orange. I also used whole cherries for each cookie, rather than cutting them in half. The Pioneer Woman's recipe is here. And mine is below.


Christmas Cherries makes 13 cookies
1 stick of butter
1/4 cup sugar
1 egg yolk
1/2 teaspoon vanilla extract
1 tablespoon lemon juice (or the juice of one lemon)
1 cup flour, double sifted
Candied cherries (green or orange)

Cream the butter and sugar together until combined. Add the egg yolk, vanilla extract and lemon juice. Mix until combined. You may need to scrape the bowl periodically to get everything together. Add the flour, mix. Place dough in a ziplock bag, or cover the bowl with saran wrap and refrigerate for at least one hour.

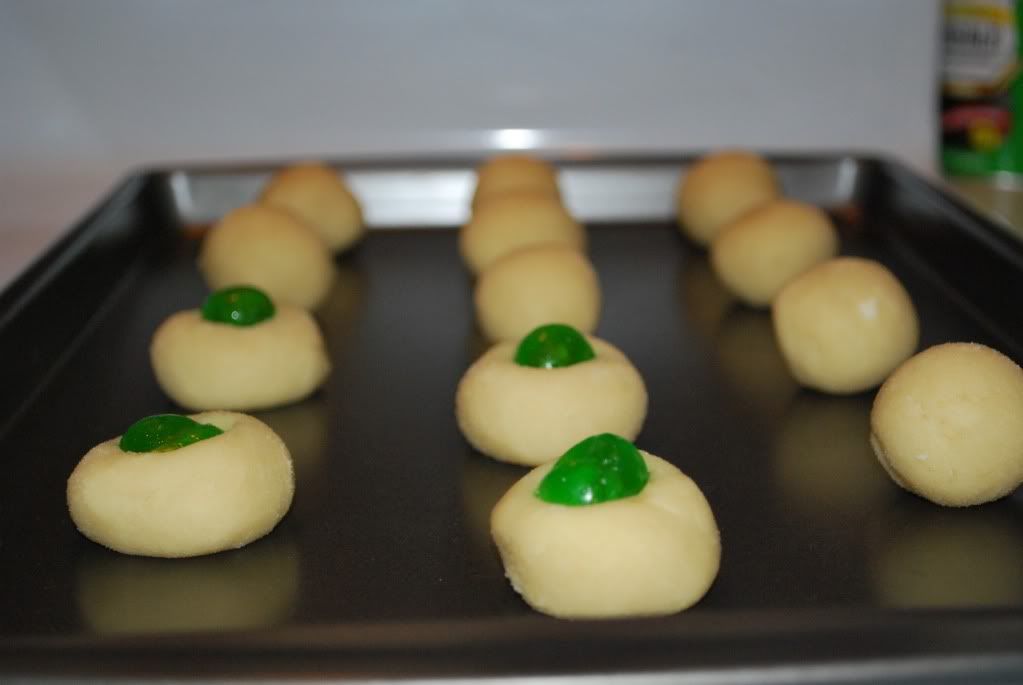
Preheat oven to 300 degrees. After the dough is cold enough take it out and roll it into small balls. I was able to get 13 out of a half batch. Press a candied cherry lightly into the dough. Bake for 20 minutes.

XO

December 13, 2010

.puffy pumpkin pillows of deliciousness.


I have really come to appreciate pumpkin this season. I have never really cooked with it much before, and really rarely even ate it unless it was a Thanksgiving pumpkin pie or possibly a pumpkin empanada. This fall though I have branched out and tried new things. When I saw a recipe for pumpkin chocolate chip cookies I pretty much knew I had to try them too.


So, while looking at the recipe I, of course, decided to change a few things. It called for 2 sticks of butter which is just way too much for me so I cut that down to 1 stick, and then upped the pumpkin from 1 cup to the whole can. I'm an all in sort of girl. Don't play poker with me. Even for matchsticks. Just ask my father-in-law.

Pumpkin Chocolate Cookies makes 50-60 cookies
1 stick of butter
1 cup sugar
1 cup brown sugar
2 eggs
1 teaspoon vanilla extract
1 (15 oz) can pumpkin puree
3 cups flour
2 teaspoons baking soda
1/2 teaspoon salt
1 teaspoon cinnamon
1 teaspoon nutmeg
2 cups chocolate chips, semi-sweet

Preheat oven to 350 degrees.

Cream the butter. Add both sugars and mix together. Since I omitted the second stick of butter this never really got to a creamed state but it was thoroughly combined. Add the eggs and beat. Add the vanilla extract and the pumpkin, beat until everything is combined.

In a separate bowl mix the flour, baking soda, salt, cinnamon and nutmeg. Add to the wet mixture in thirds until everything is combined. Fold in the chocolate chips.

Bake for 15-20 minutes, until the edges of the cookies are browned.

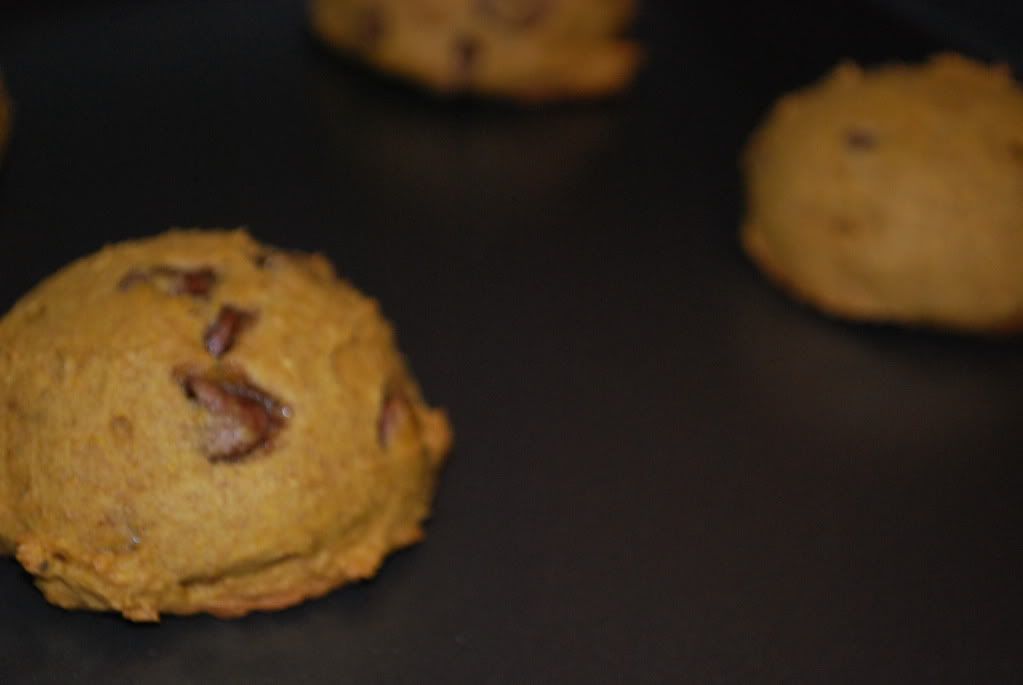
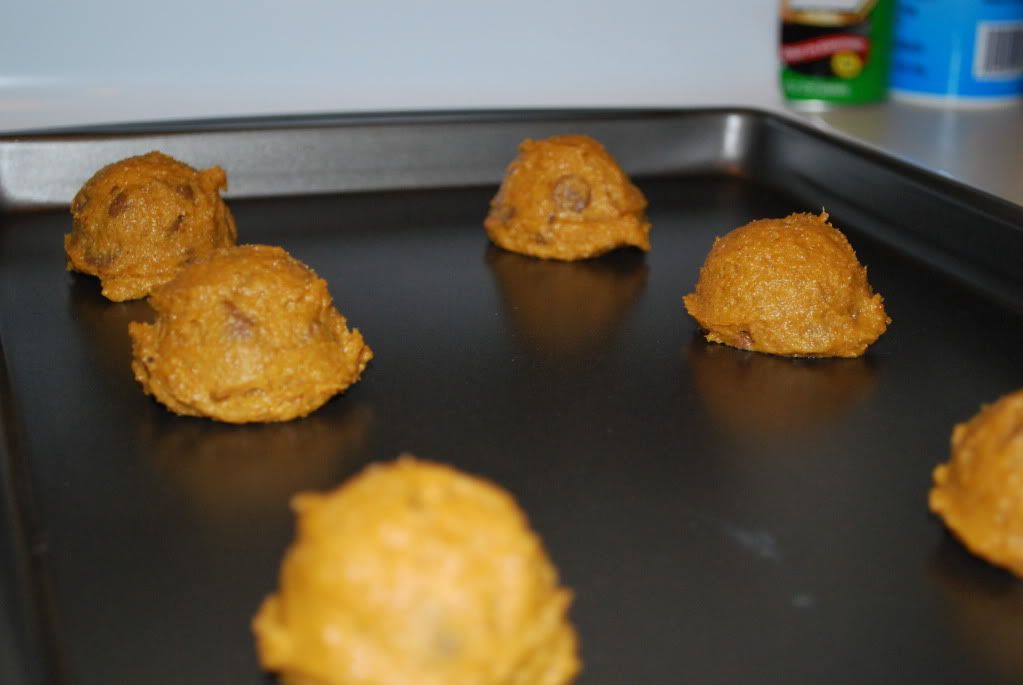
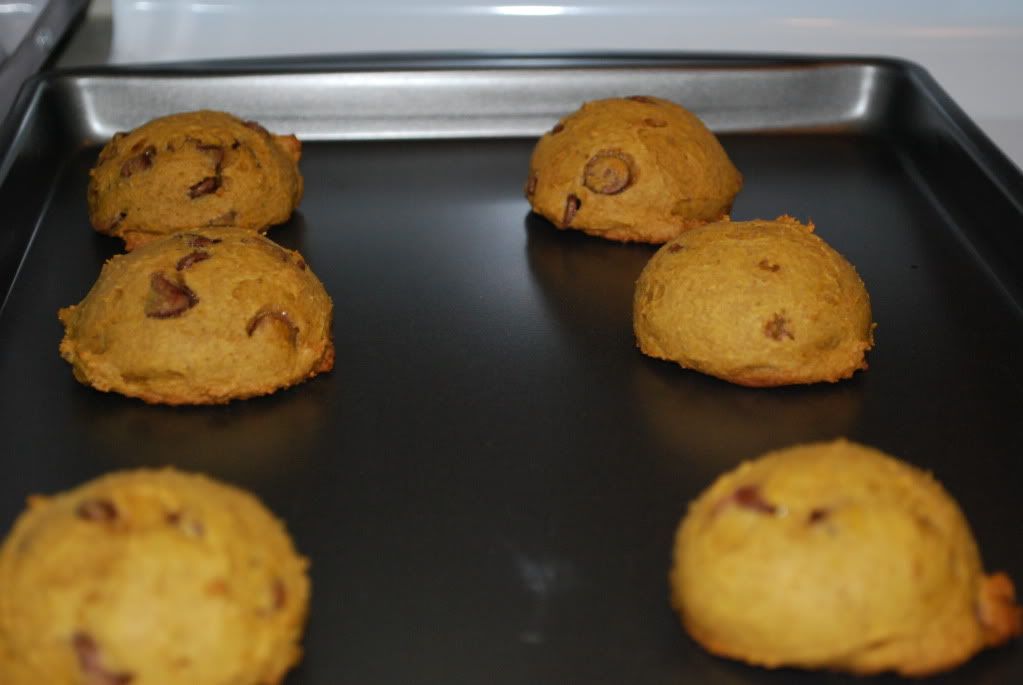
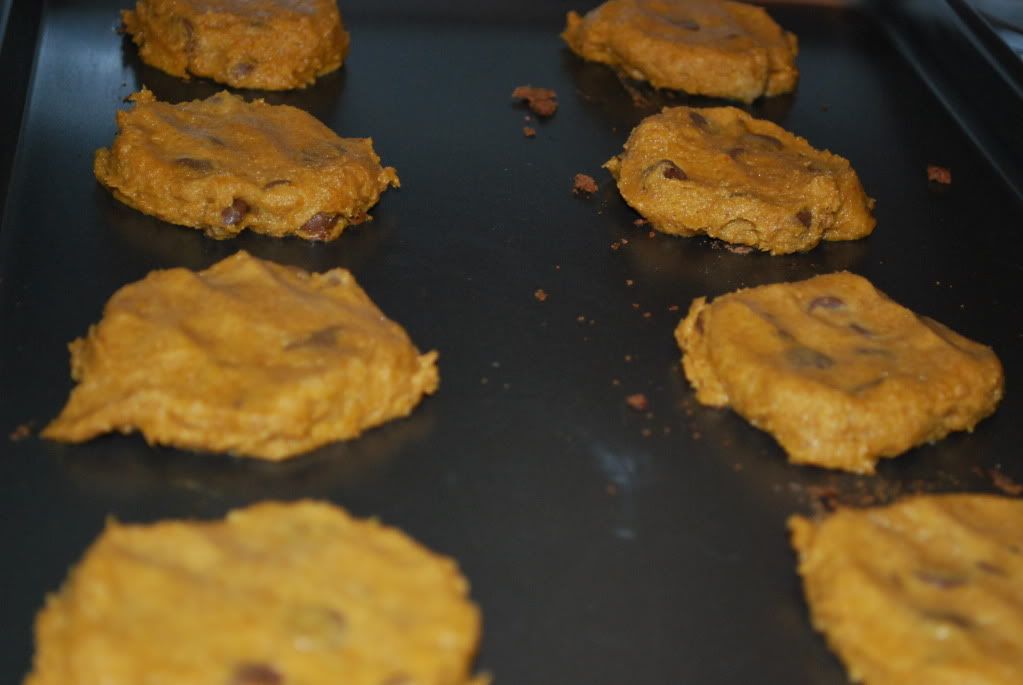
One thing I thought was interesting about these cookies is that they don't really flatten at all in the oven. I used a handy dandy cookie scoop to put them on the baking sheets and they came out of the oven in pretty much the exact same shape. I did attempt to flatten one batch, as shown, before putting it in the oven by wetting my fingers and pressing the dough flat and that turned out fairly well but I decided I liked the puffy dome shaped cookies anyway.

They taste the same, and oh! That taste. This is definitely not Grandma's classic chocolate chip cookie. The pumpkin gives it an extra oomph. I highly recommend these cookies.

XO

September 27, 2010

.daring bakers challenge: september.

Yes! This will probably be my favorite monthly post. I am part of a group call Daring Kitchen. This includes Daring Bakers and Daring Cooks. Every month each group gives it's members a challenge in the baking world or cooking world. On the 14th of each month Daring Cooks reveal their completed challenge and on the 27th of each month, IE: TODAY!, Daring Bakers reveal their completed challenge.This month's challenge host was Mandy at What The Fruitcake?! She challenged us all to make homemade decorated sugar cookies with the theme of what September means to us. Awesome.

This challenge took me 7 hours. 7 whole hours. Ok, no, not really. Some of it is freezing time, some of it is baking time, some of it is cooling time but once the decorating starts, WHEW! No resting then. It was really fun though, especially once I got the hang of it. Which would also be known as: after I had already messed up all my really good looking cookies. But, c'est la vie.

So the cookie recipe itself it so easy. So easy y'all. Sugar, butter, flour, egg, extract.... that's it. Mandy's recipes sources were:

Basic Sugar Cookie recipe adapted from Peggy Porschen:
http://www.peggyporschen.com/images/press/pdf/Coso-Bride-Oct-Nov-2008.pdf
Also found in her book: “Romantic Cakes” http://www.peggyporschen.com/book-detail.asp?ID=2 

So, check those out if you'd like to try these cookies yourself.

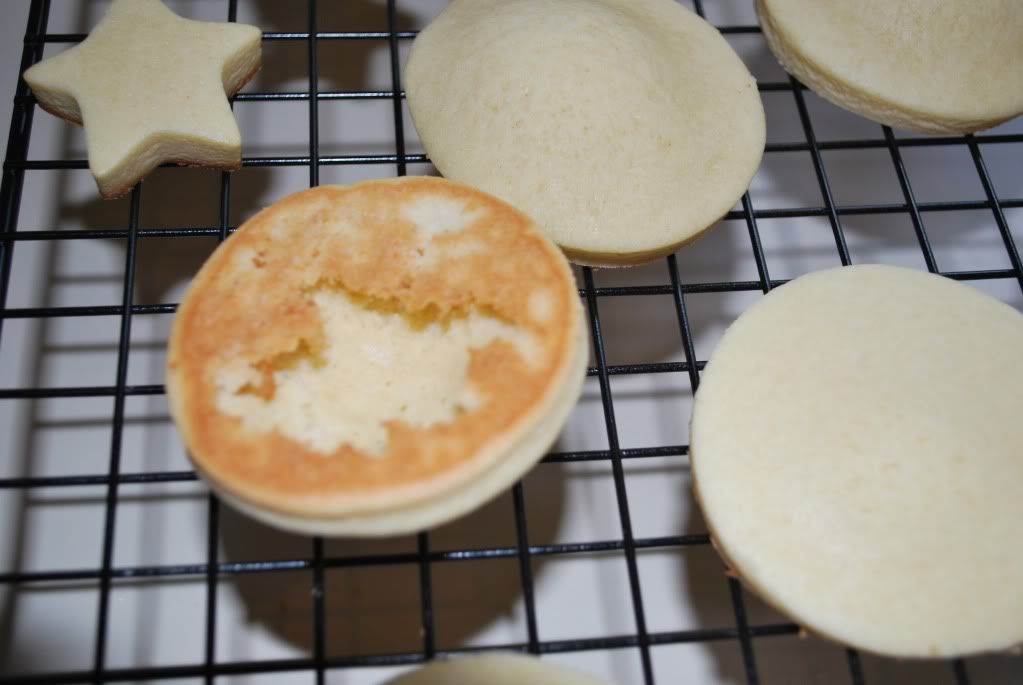
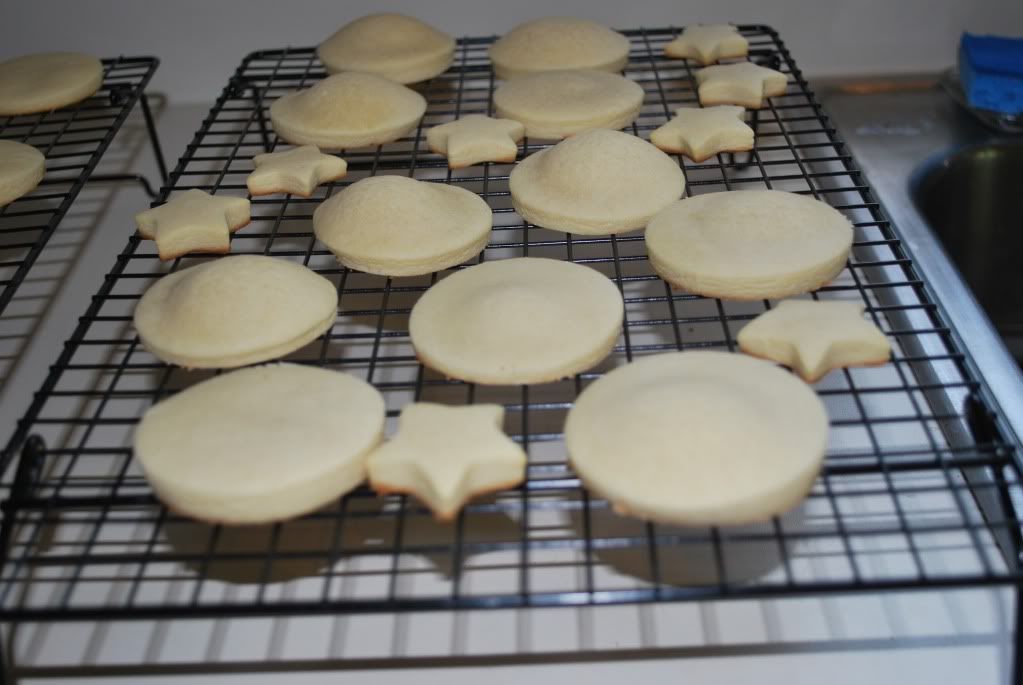
To start I made the cookie dough, per the instructions. Split it into two sections. Rolled those out with parchment and put them in the freezer. And here was my first challenge. I had never rolled anything out with parchment paper before, I always just use a floured surface. The parchment paper went all over the place every time I tried to roll the dough! It was a pain, for sure. I wound up sticking my kitchen aid mixer on one side and just rolling from one angle, which kind of sucked. It worked out in the end though so, that's all that matters. After letting the dough chill I cut out my shapes, simple circles and a little star cookie cutter. Then back into the freezer for another 30 minutes. After that I baked the cookies in three batches. Two batches of circles for 14 minutes each, and one batch of stars for 8 minutes. The first batch of cookies and the batch of stars turned out great but something went amiss with the second batch of circles..... they rose. Which, if you don't know, sugar cookies are not really supposed to do. Upon examining the cookies I found that the bottom was blown out and I'm thinking what happened was that the second batch was made from scraps that I rerolled and chances are I didn't knead the dough enough and got air bubbles in the cookies. Still, it was very weird.


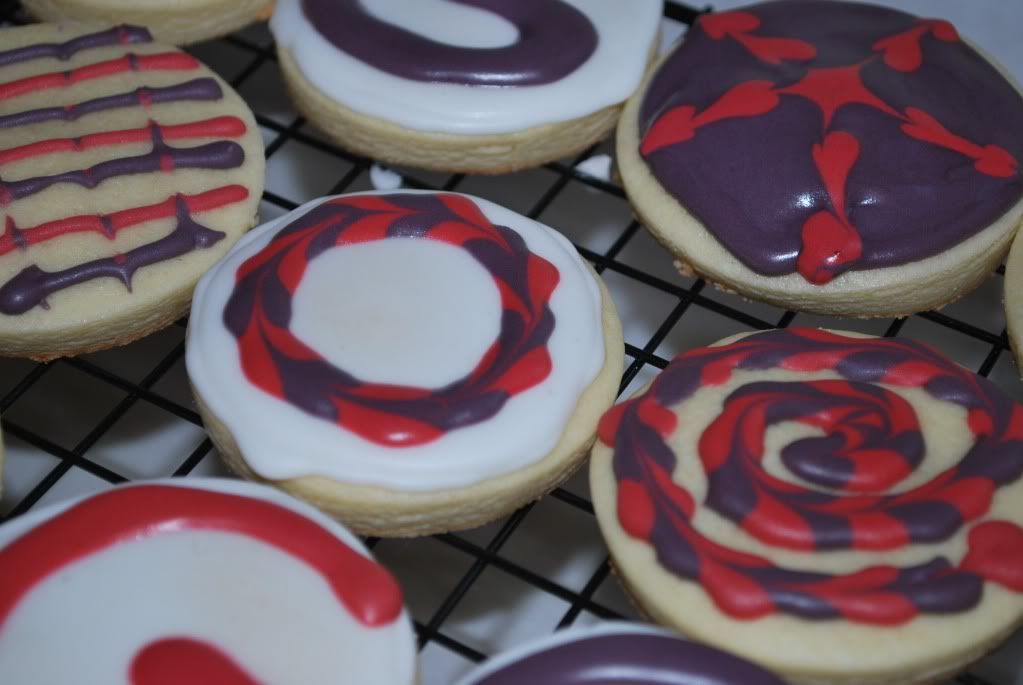
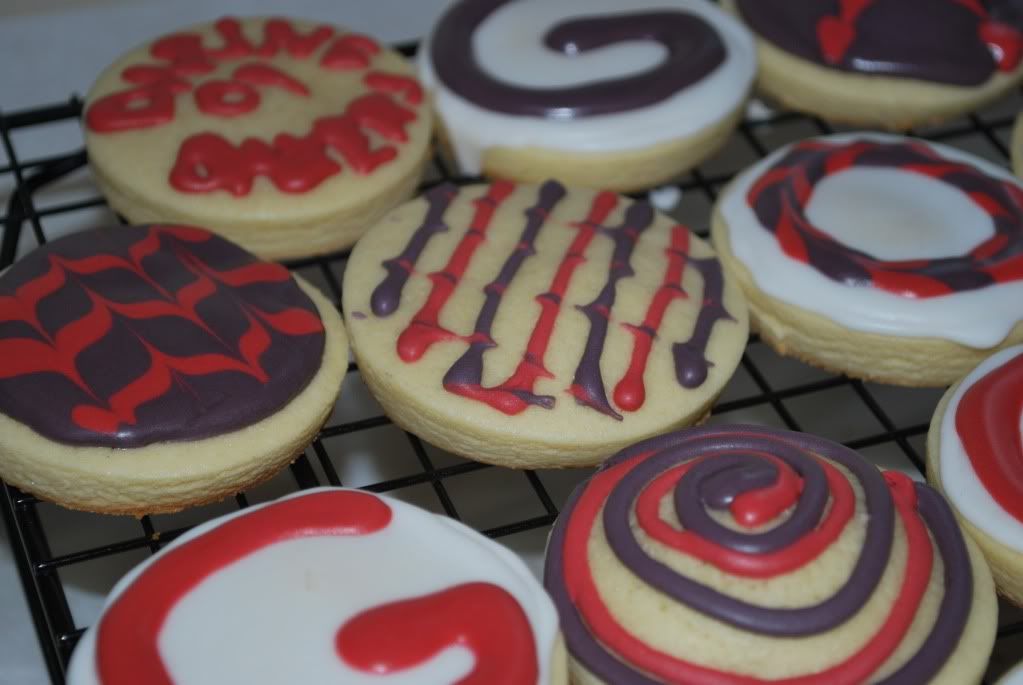
After letting the cookies cool for about 2 hours I started on the icing. This was my first time working with royal icing and I made quite a few mistakes, but I know where I went wrong so, that's good news, ha. My first mistake was mixing the icing, placing some of it in other cups for other colors, then filling an icing bag with the white icing and starting before mixing the other colors. I realize now that I should have mixed all the colors, place them all in their icing bags, then started. I also realize now that my base white icing was way too runny at first. I quickly learned to add more confectioners sugar.... and to put some parchment paper beneath the cookie rack I was icing on, ha. But, it still turned out pretty good.


The theme I had decided on for my cookies was going to be "Georgia," as my husband and I just moved here. While trying to mix my black and red, however, I realized that wasn't going to work. My black looked purple, and the red looked pink. So, I made a few "G" logos then decided to just play around with some techniques, as you can see.


Overall I'm super happy with my first attempt at decorated sugar cookies. They're not perfect, but they're cute. I have a technique down now and feel like my next batch will be much better.


And, I gotta say, even though they're not perfect, they still tasted amazing!

Thanks Daring Bakers!

Cook on!